Rapture & Wright
/Last Friday, I set off for a one day screen printing workshop at Rapture & Wright. It was a beautiful, sunny winters day and as I drove into the Cotswold I was put instantly into a calm and enlightened mood. I wished I could up sticks and move from Surrey to live in the picturesque Cotswold countryside, but alas I was here for one day only and I had a mission on hand. To learn the art of screen printing!
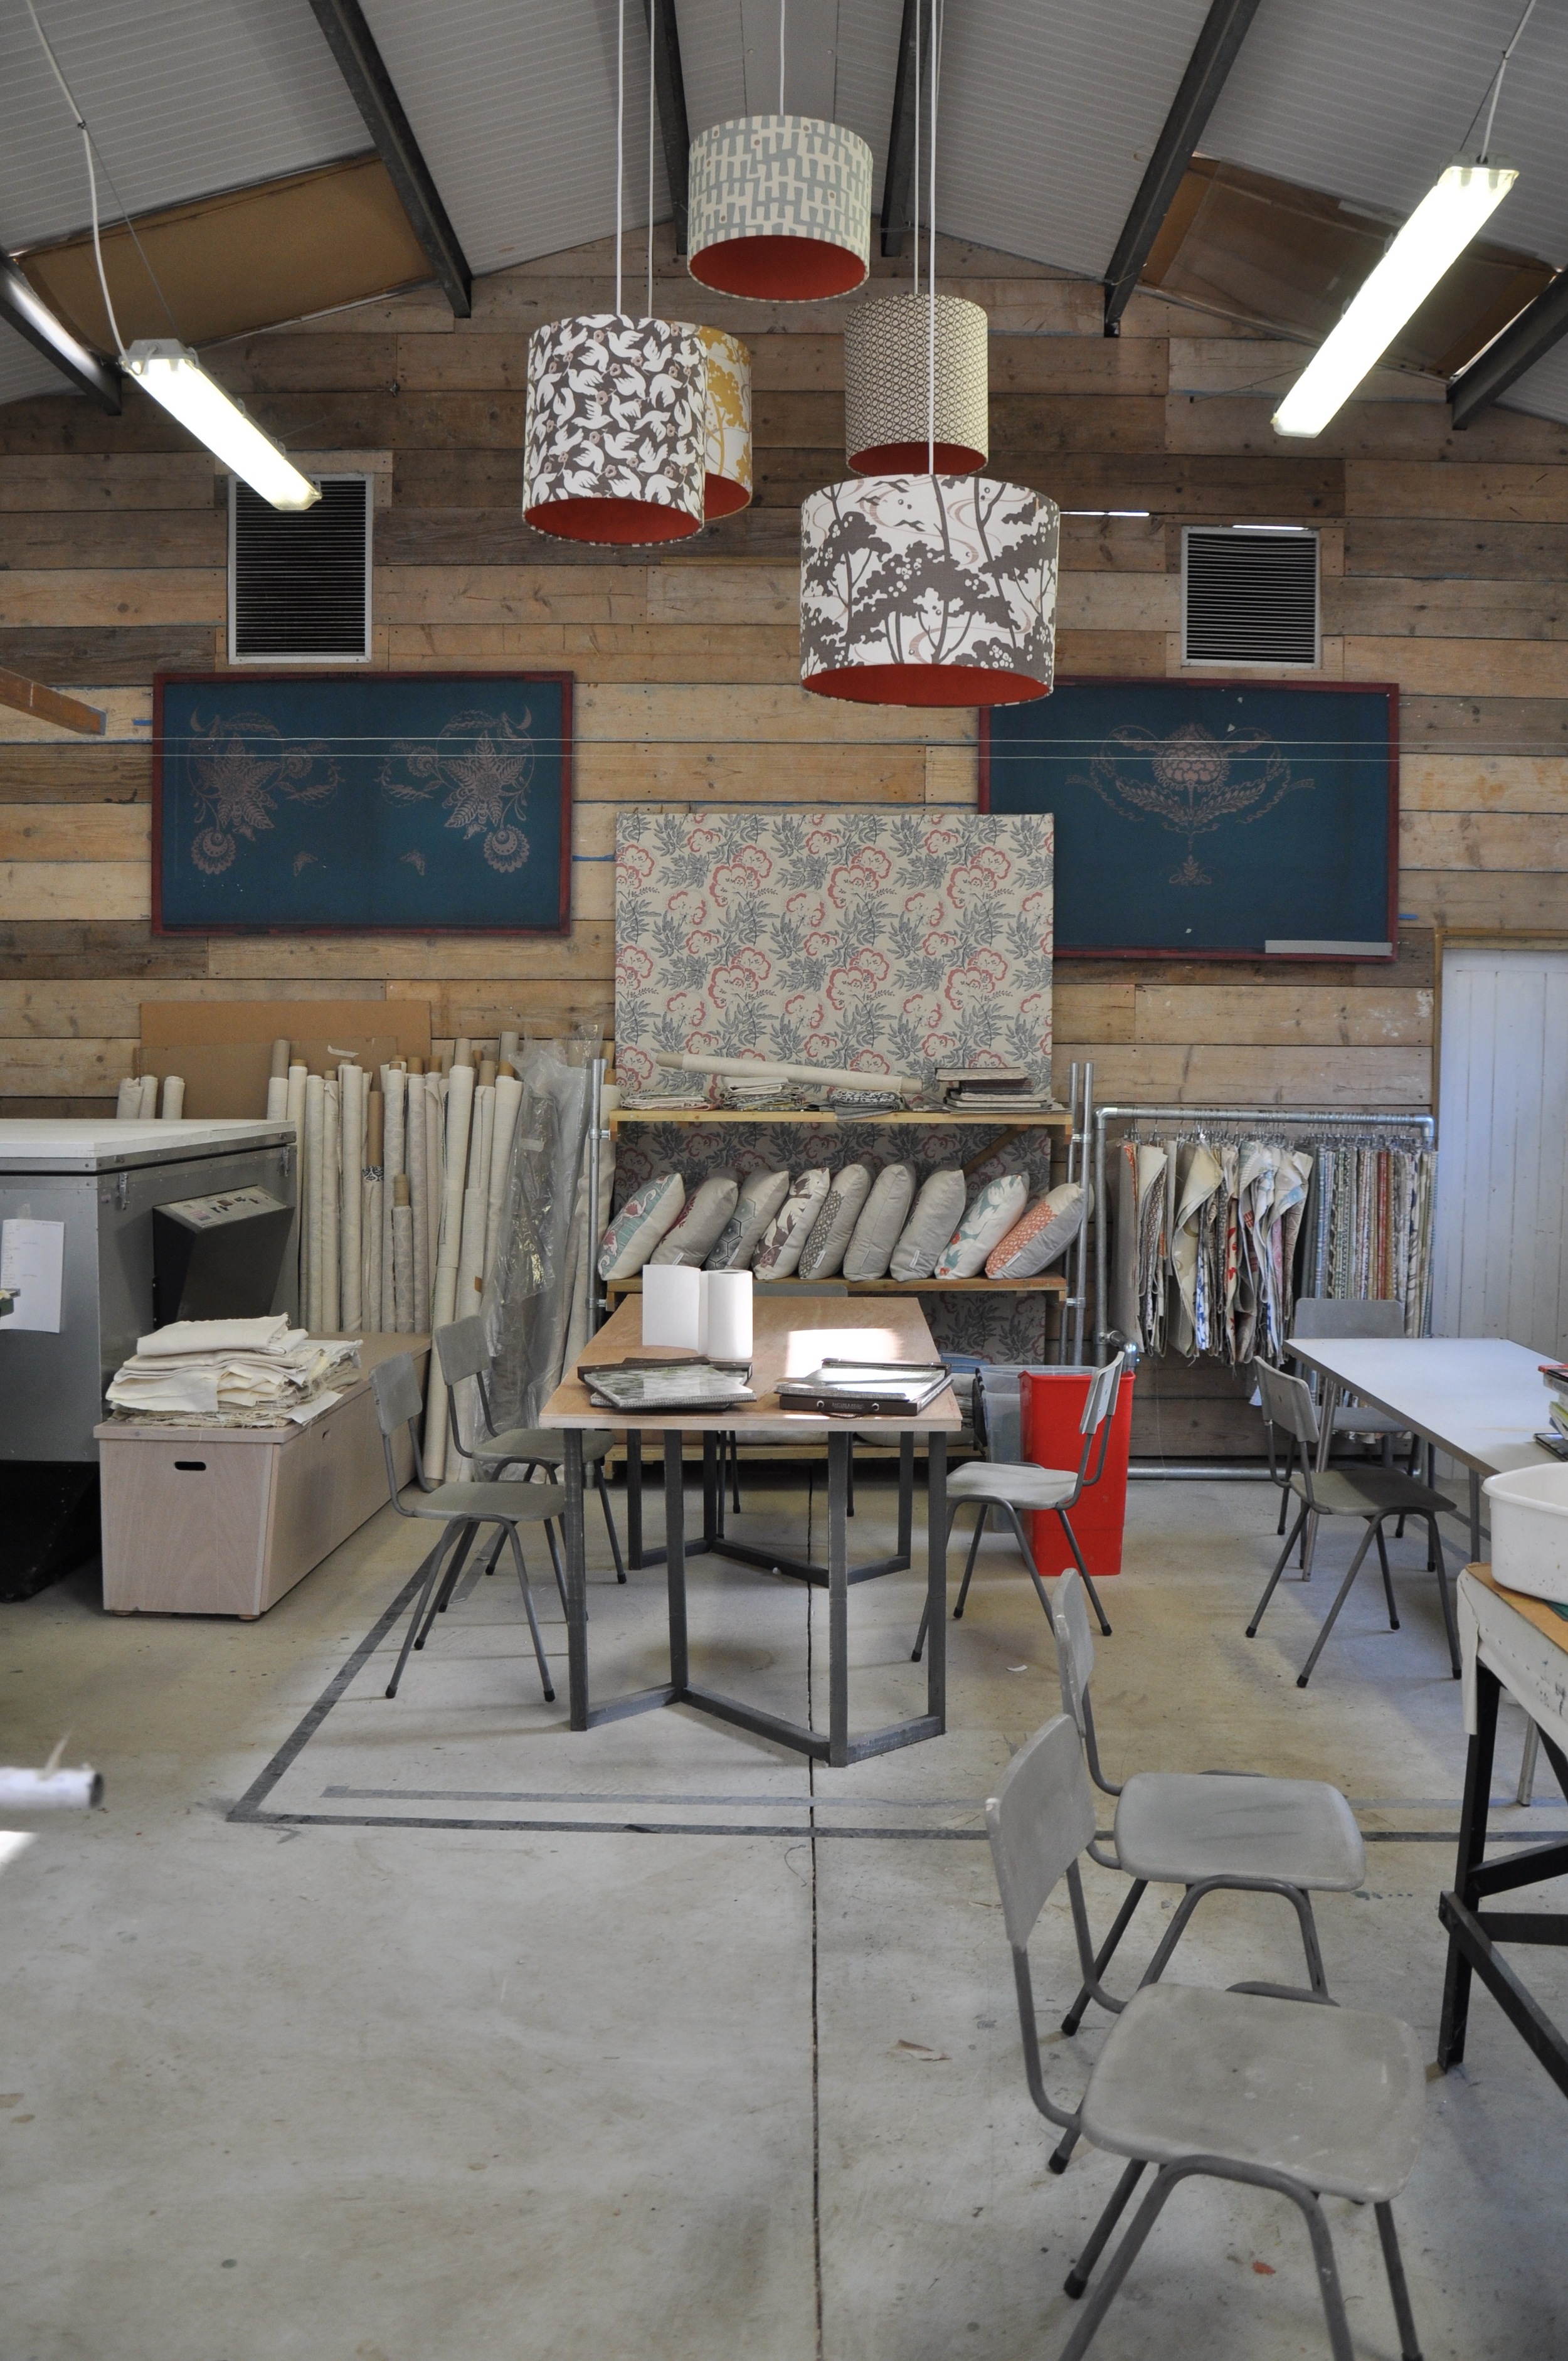
The Rapture & Wright Studio where all of the magic happens is based from the beautiful Cotswold home of Peter Twaites and Rebecca Aird. Rebecca, once a successful graphic designer and Peter, an illustrator working around the world for Interior Designers decided to move from London eleven years ago to set up their company and needed enough space to create their own print room. Settling for an idyllic location they achieved this in a huge barn between the stables and the main house which has been converted into a great open studio allowing enough room for their printing table, their screens, paints, light-box and fabrics.
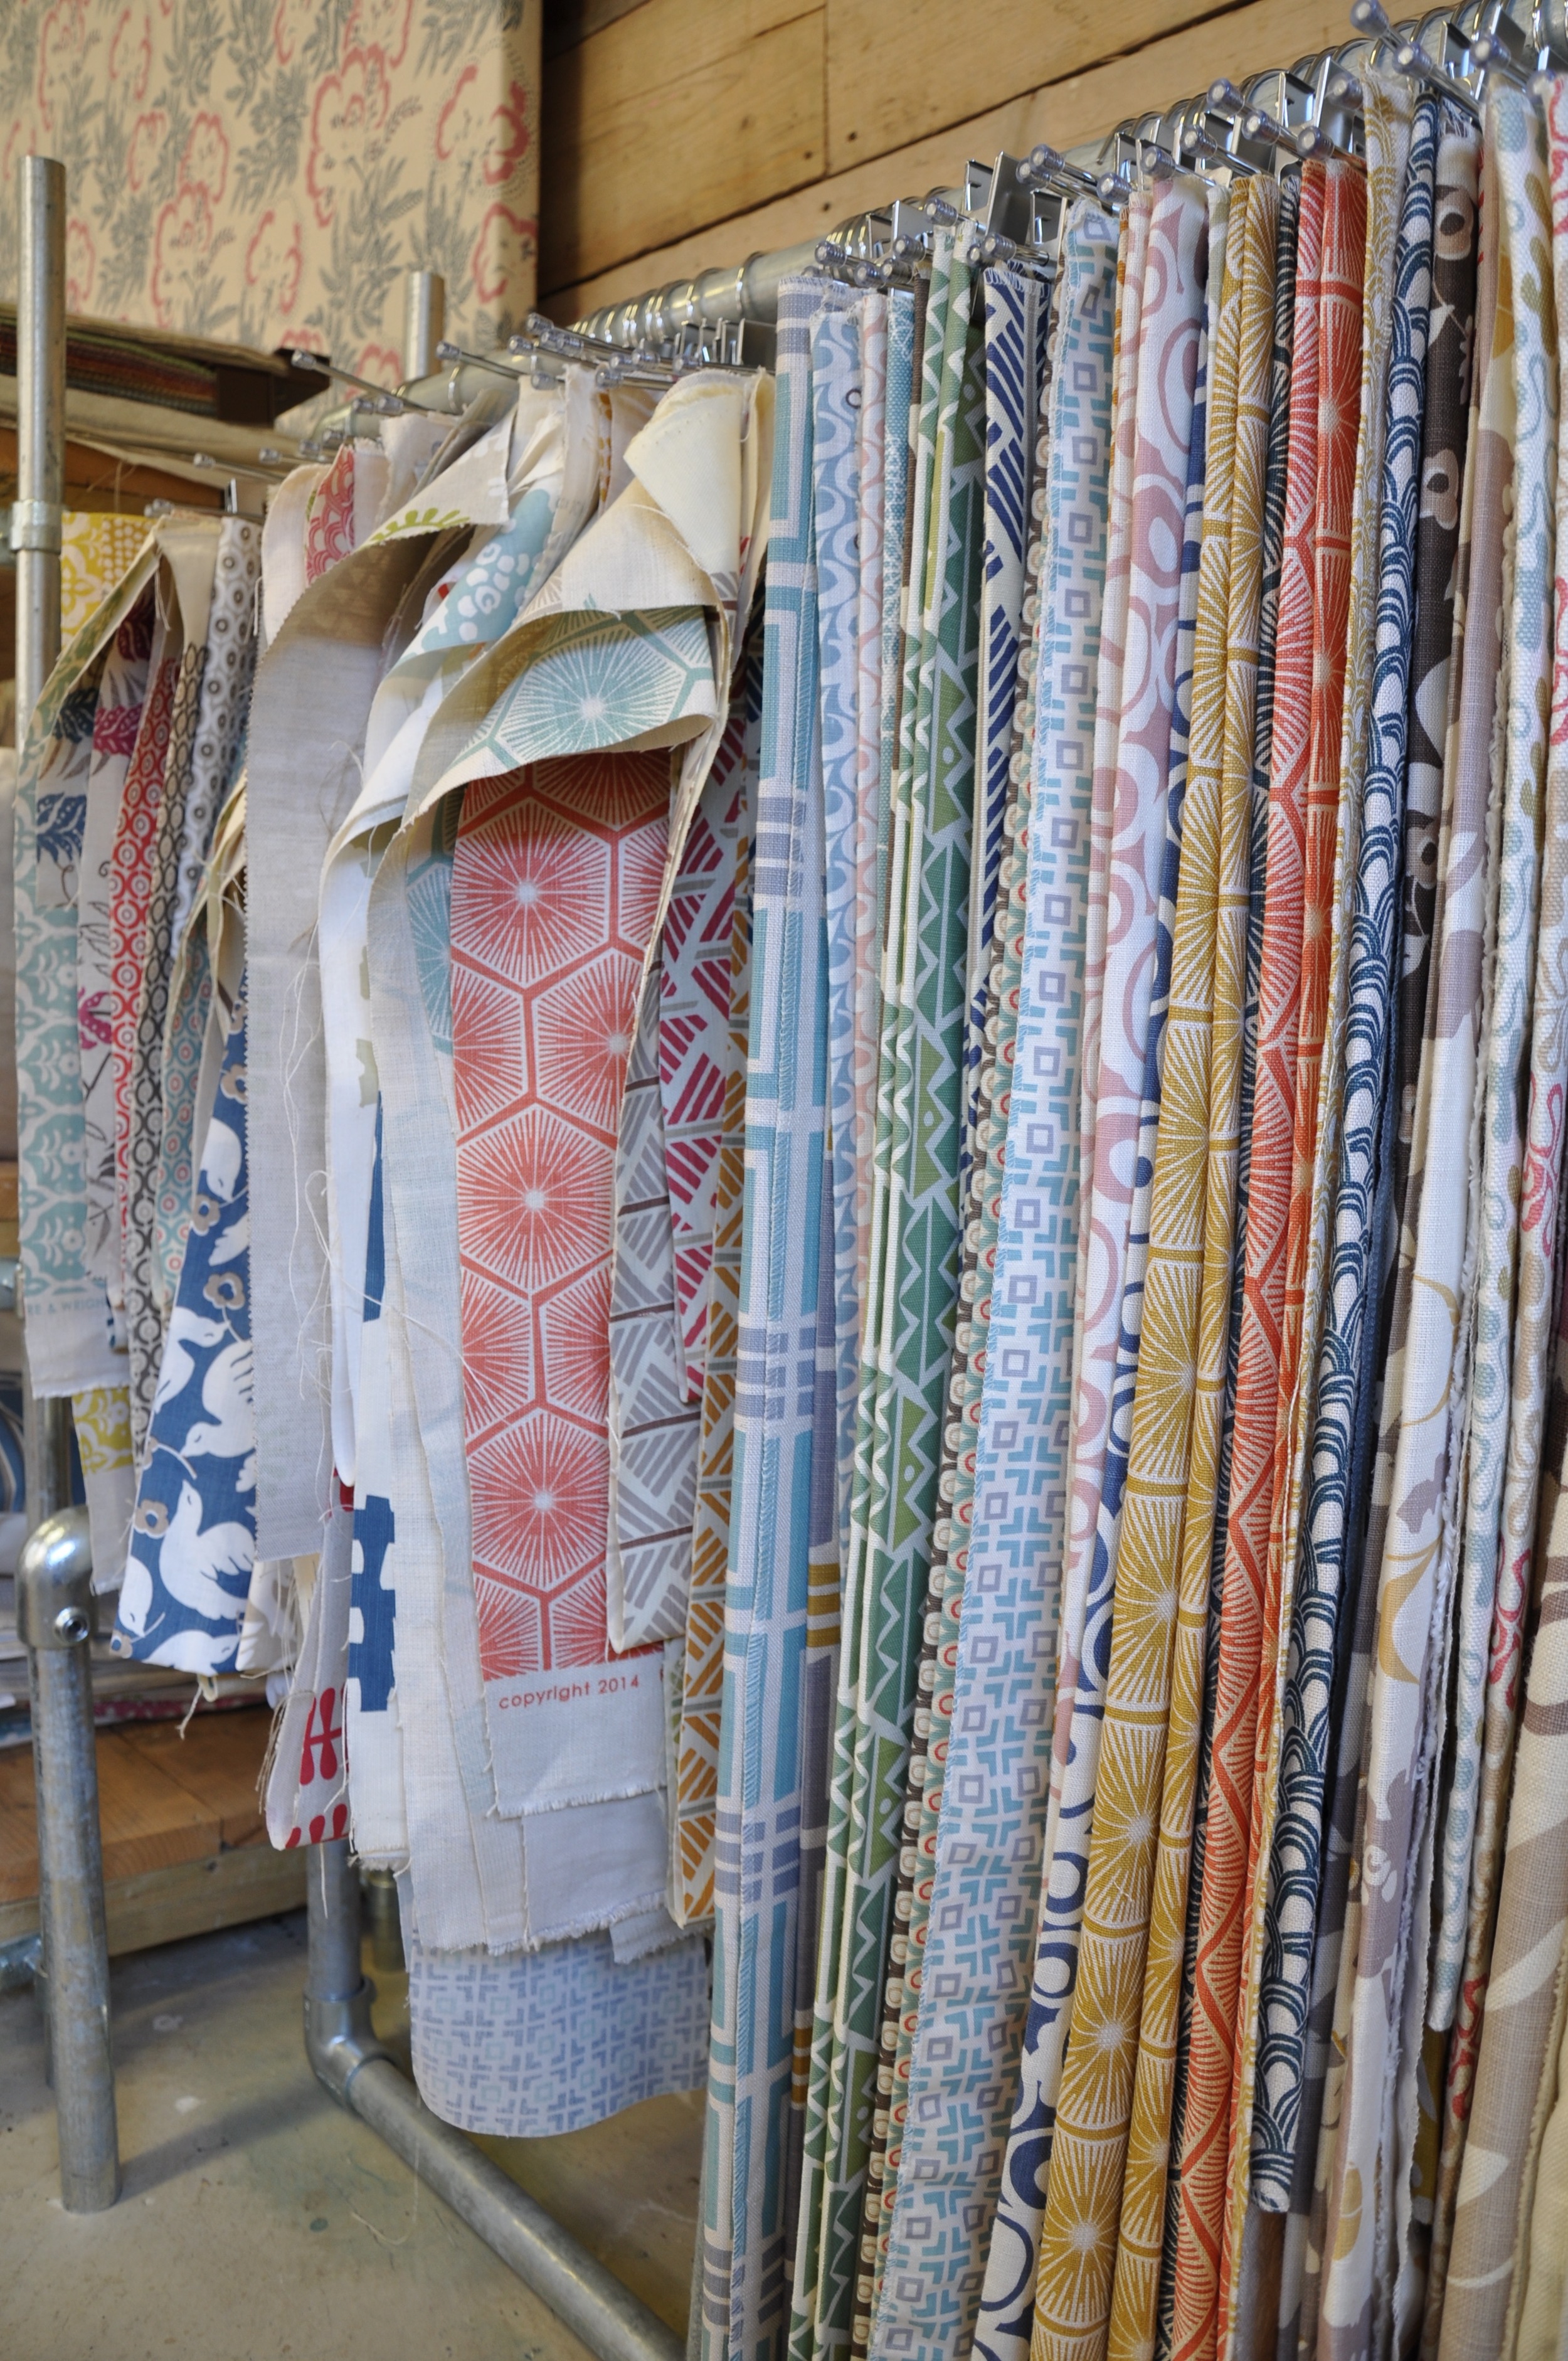
At Rapture & Wright they have one of the last remaining hand print studios in the UK. The design through to production is a timely task and the printing is physically demanding. The company print to order and with up to 90% of their sales coming from fabric designs they have a heavy workload, printing approximately 3,000 meters by hand a year! When you see the work involved you realise this is no easy task. The hand printing allows for the fabric to all be subtly different creating a personal result.
January to March new designs are worked on. Artwork is created, new designs and colours are developed and new fabrics are refined. Printing starts in March and by May the magazines need to photograph the new collection of fabrics and style their shots ready for the September issues to coincide with the collection launch at Decorex. All this time orders continue to come in for the existing designs, keeping the team busy and the printing continuous.
Fabrics and wallpapers can be bought either directly from Rapture & Wright or alternatively if you are in the London area you could pop into Redloh House off the Kings Road to view the whole collection and place your orders. Redloh House is situated in the old Gas Works and is a fun experience in itself. It is open to both trade and retail clients alike.
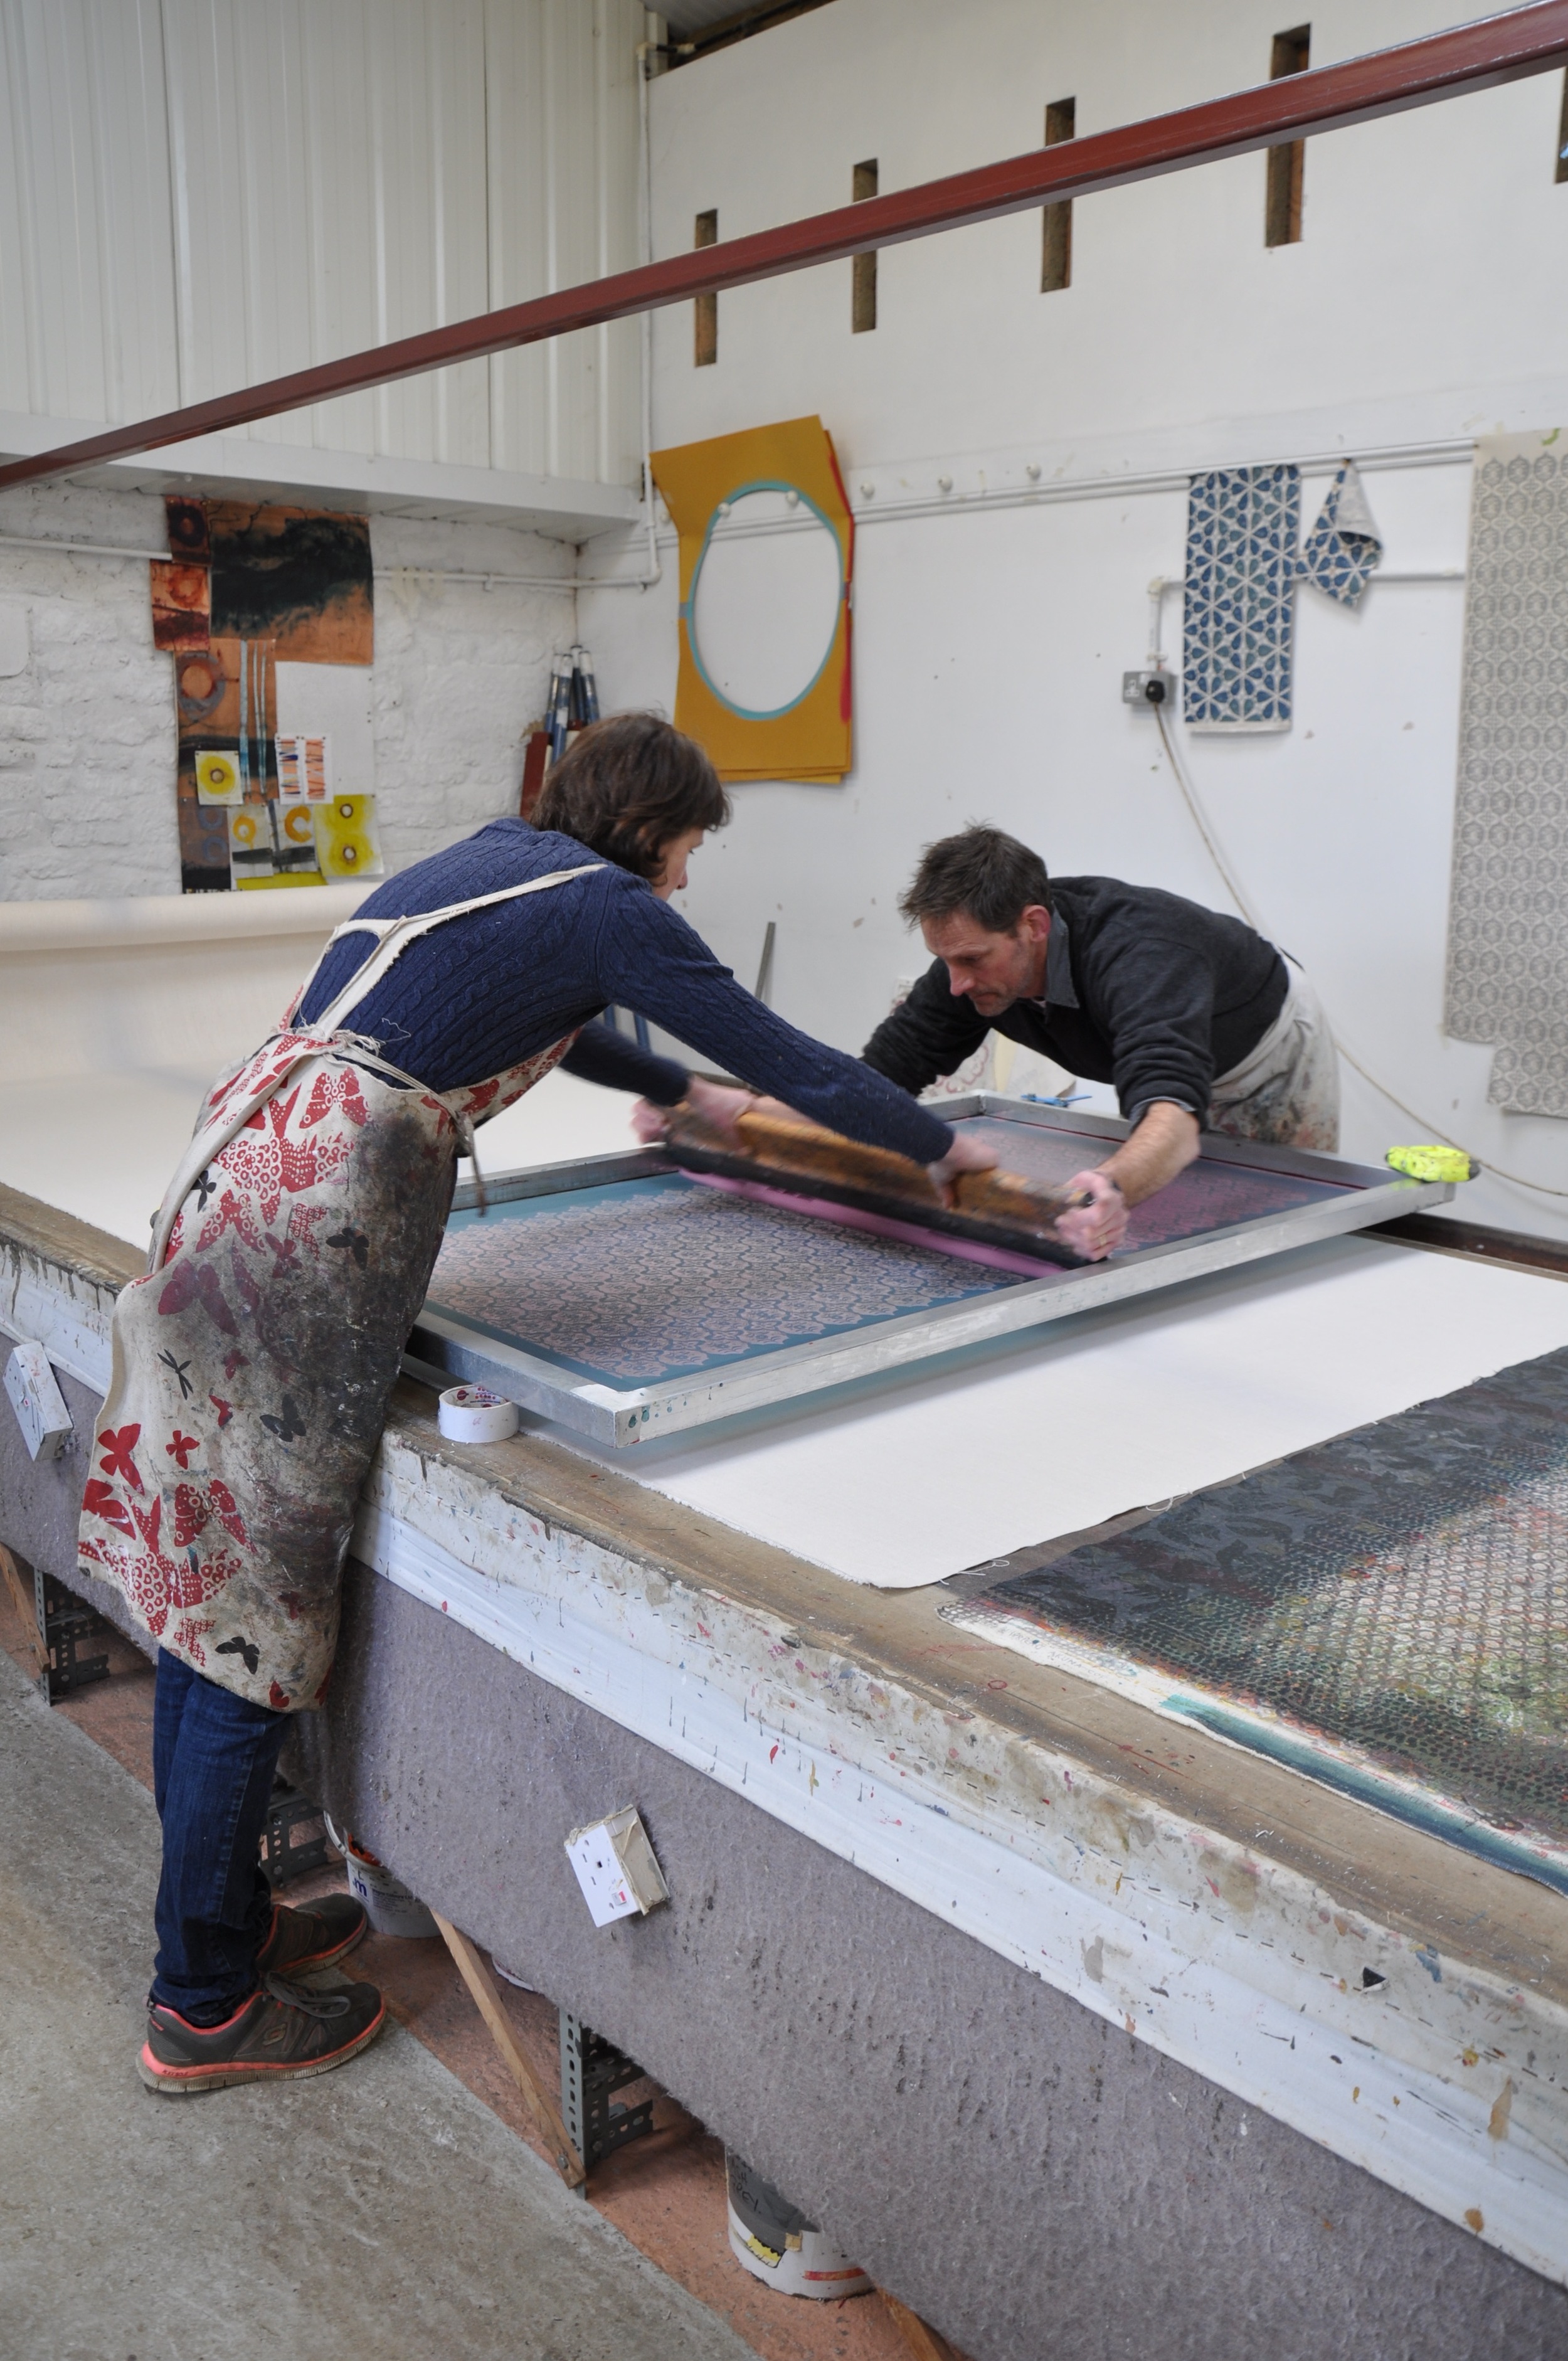
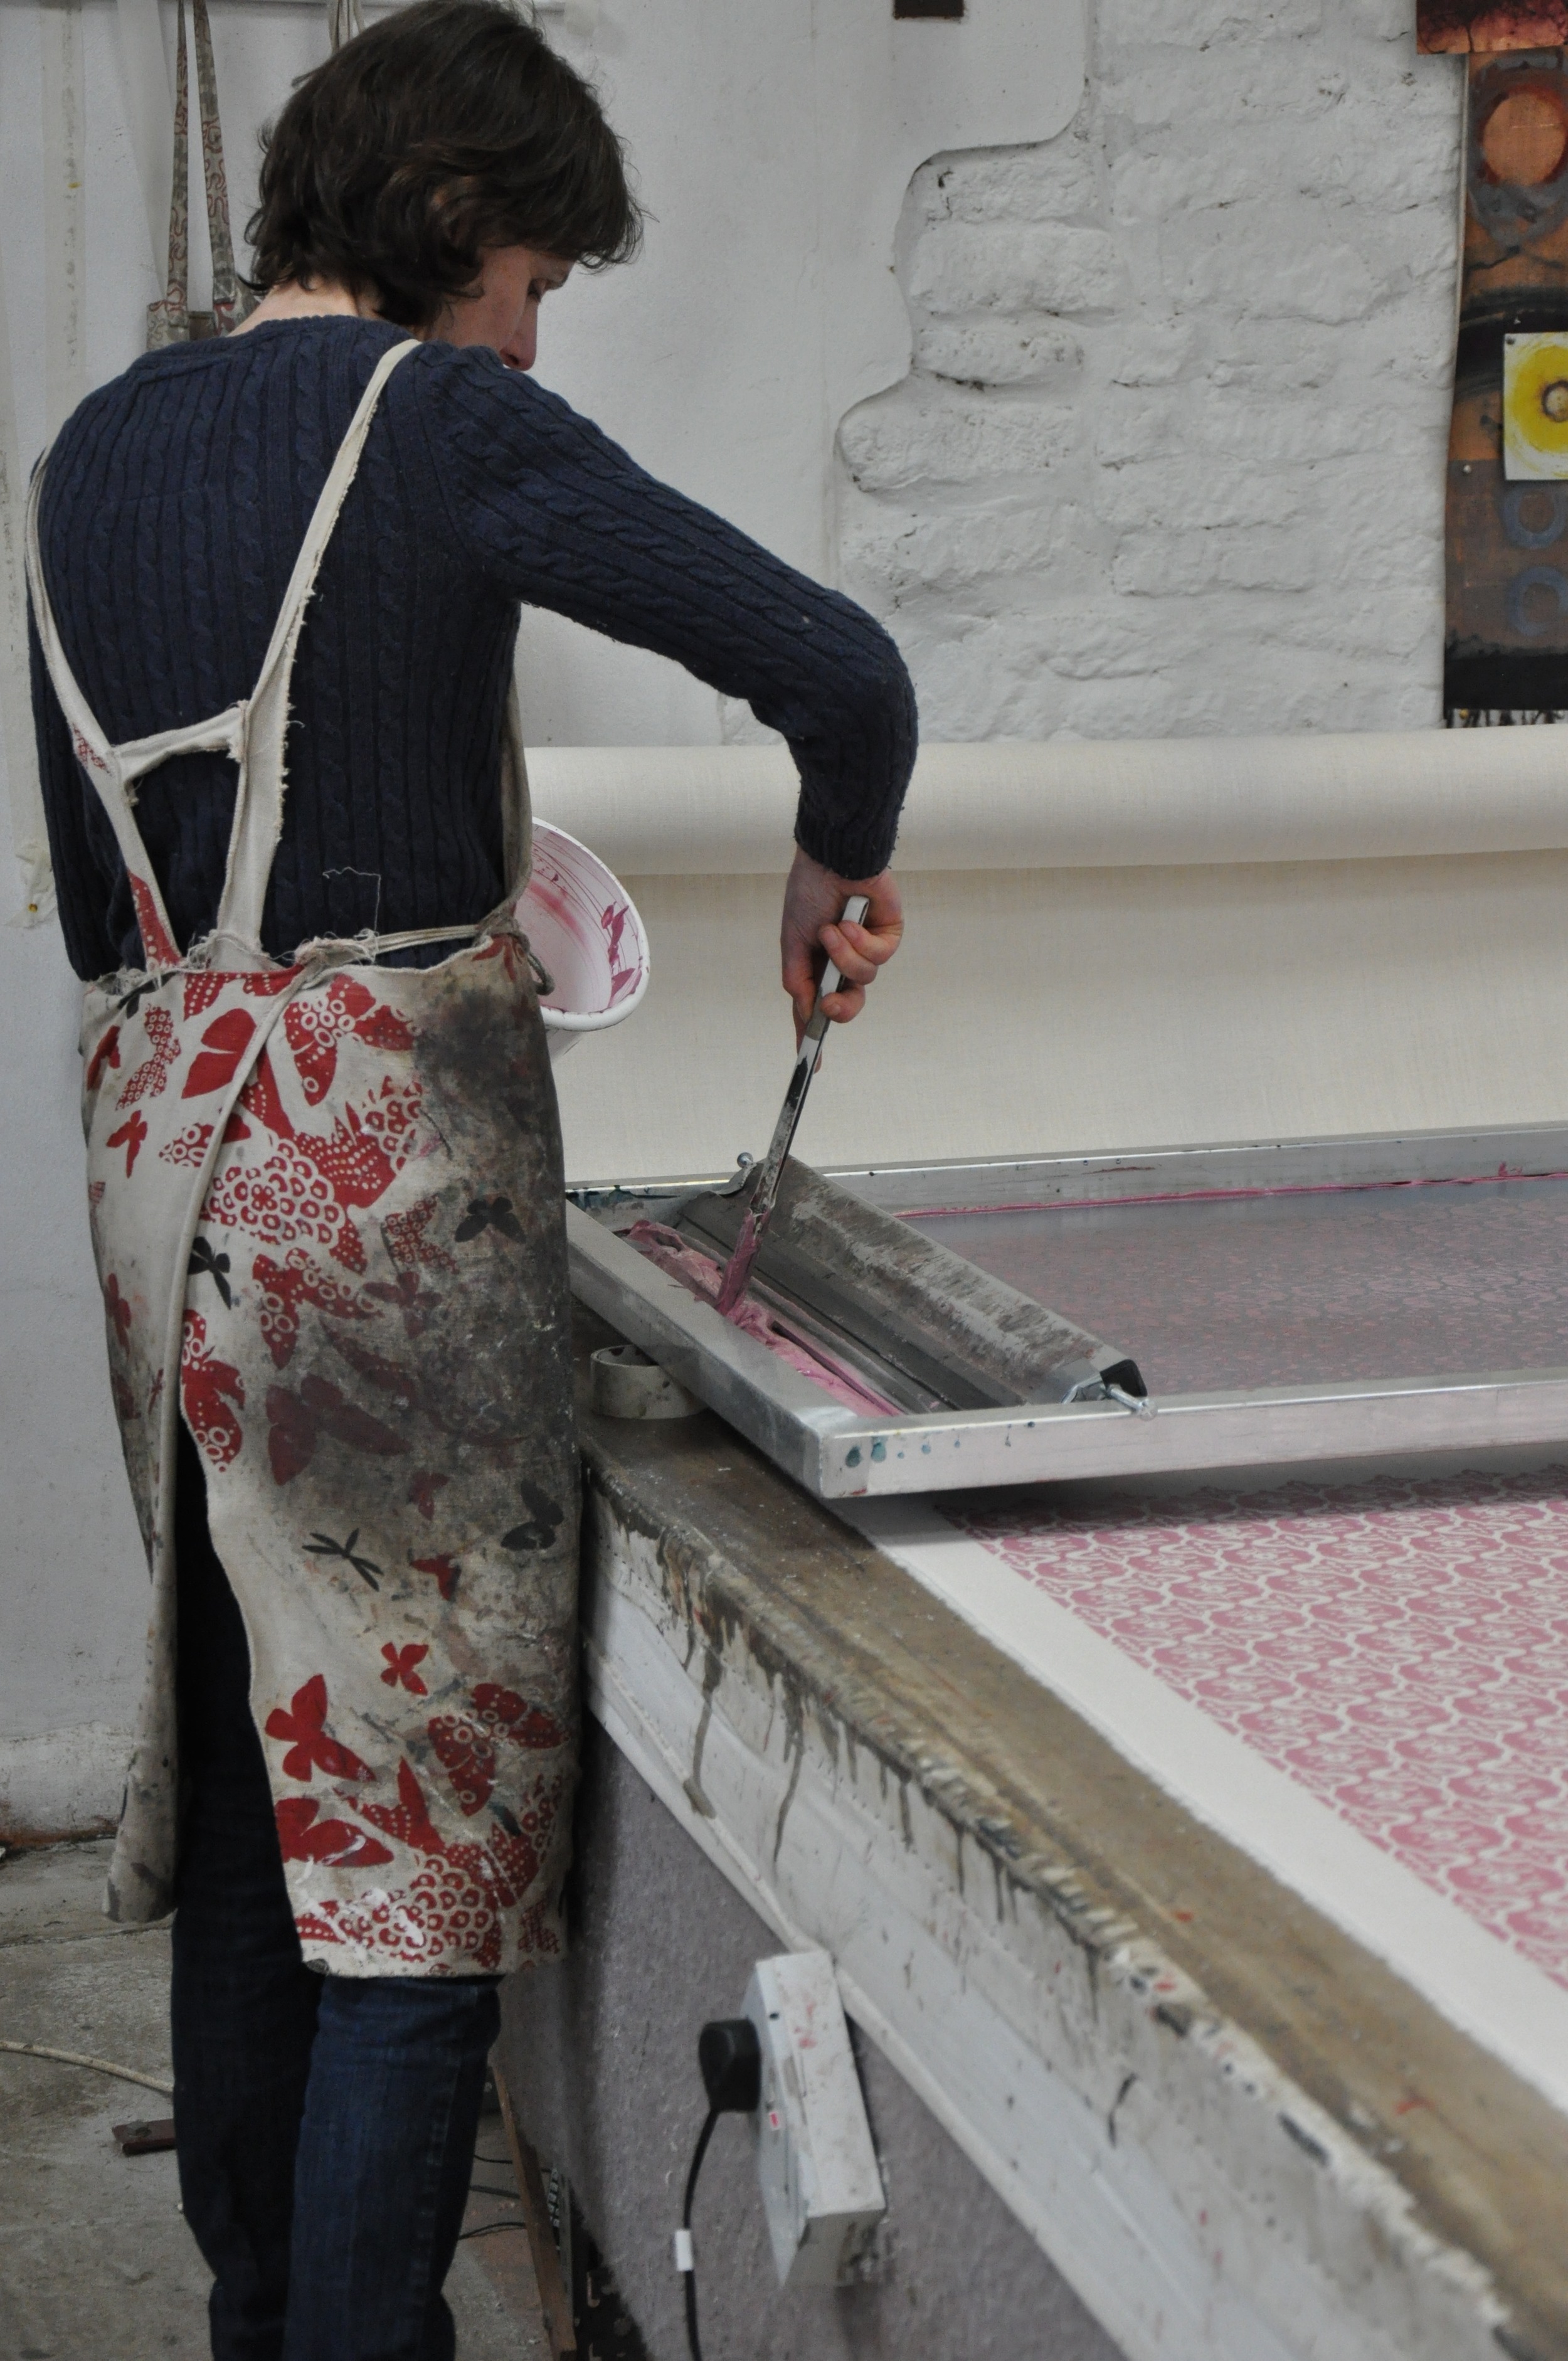
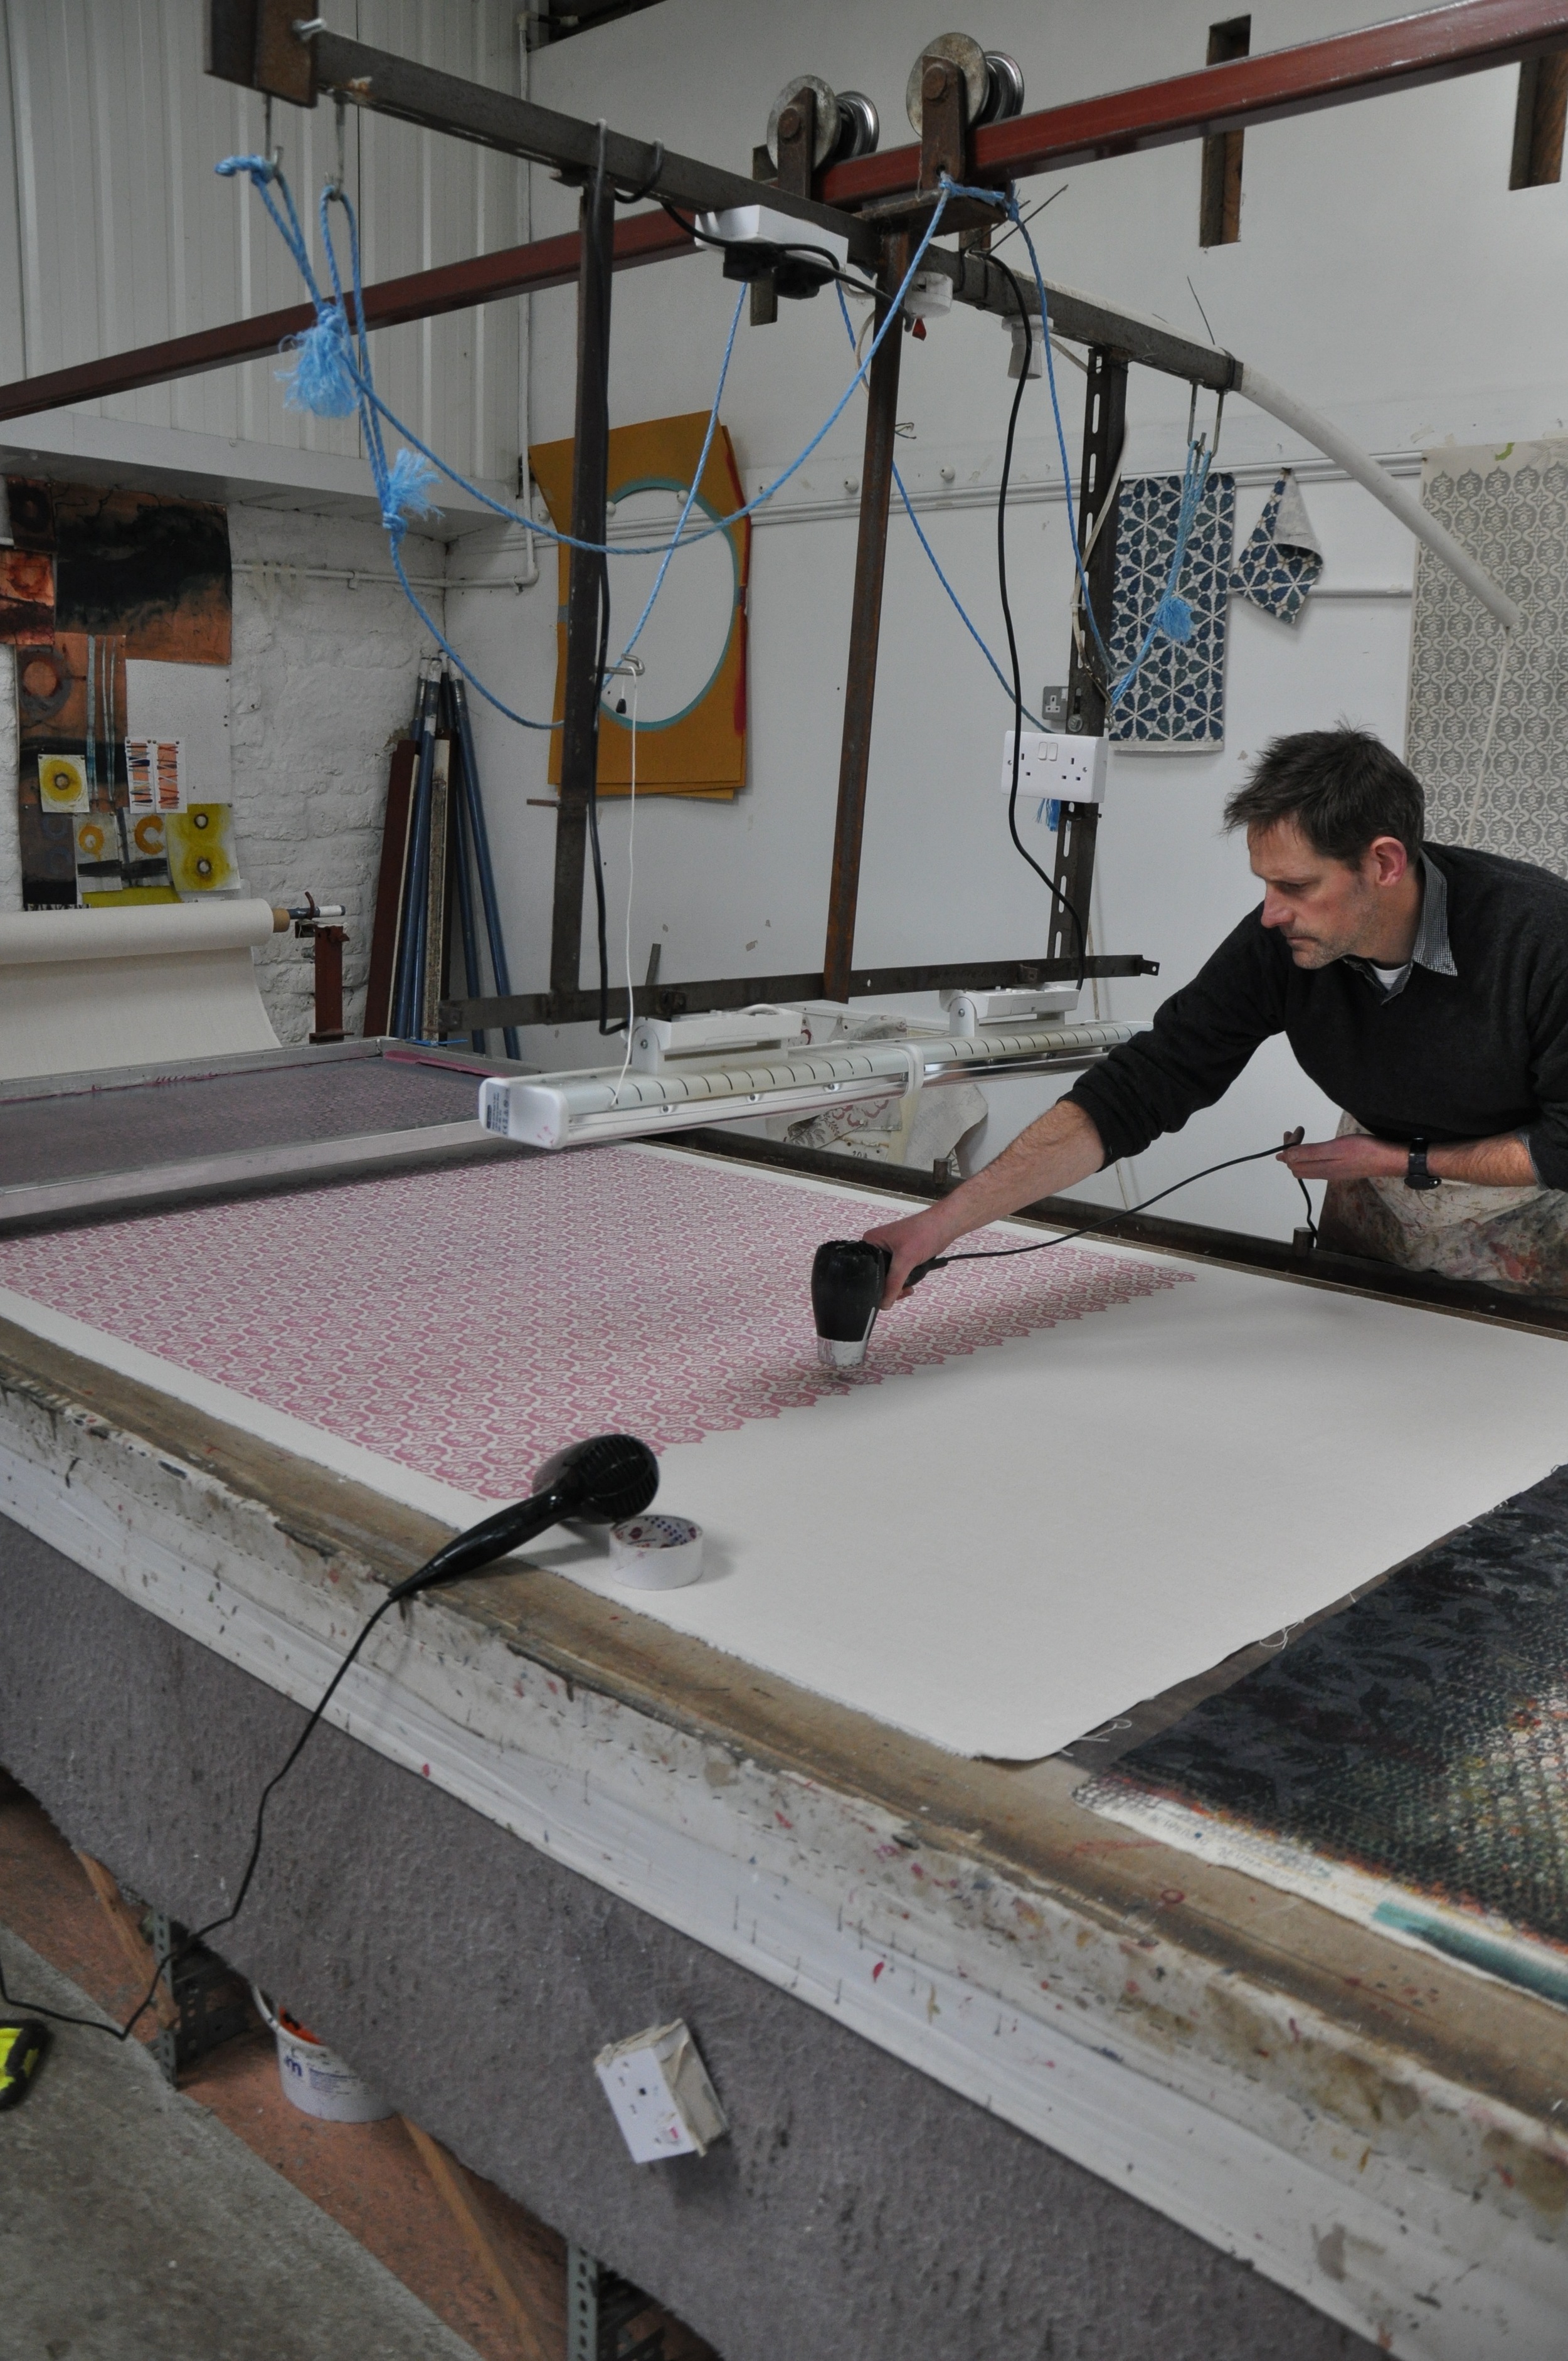
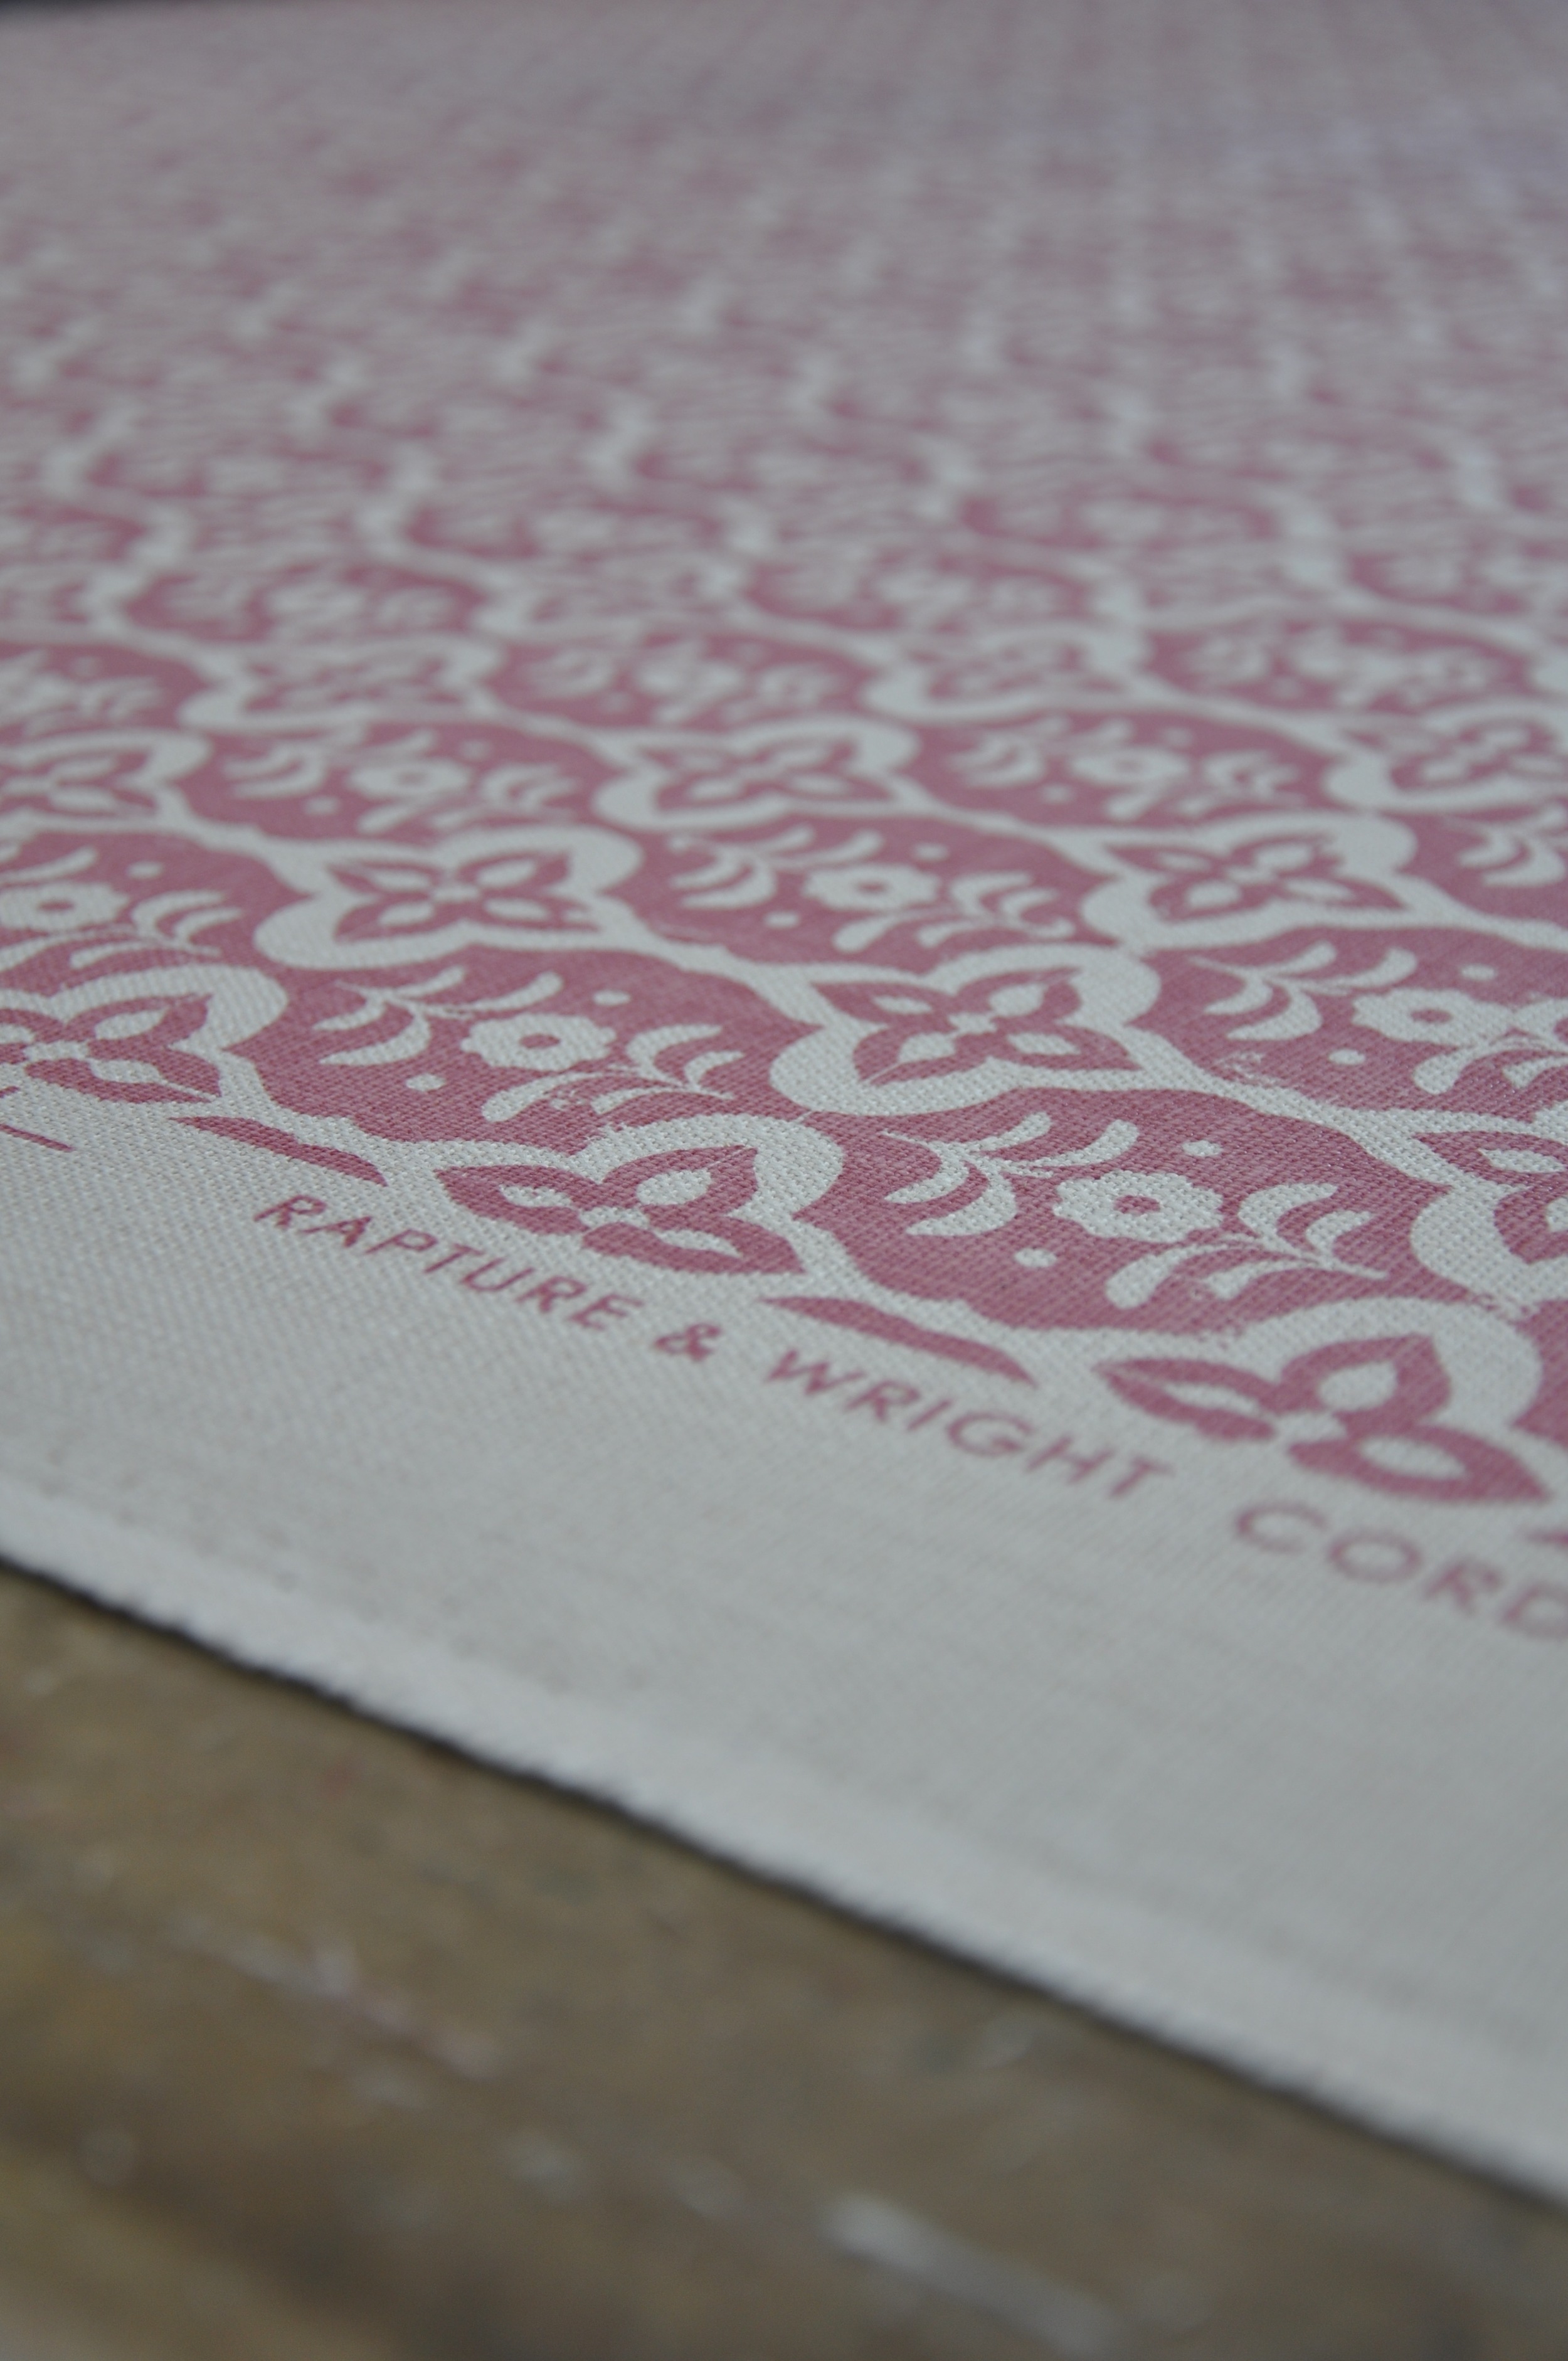
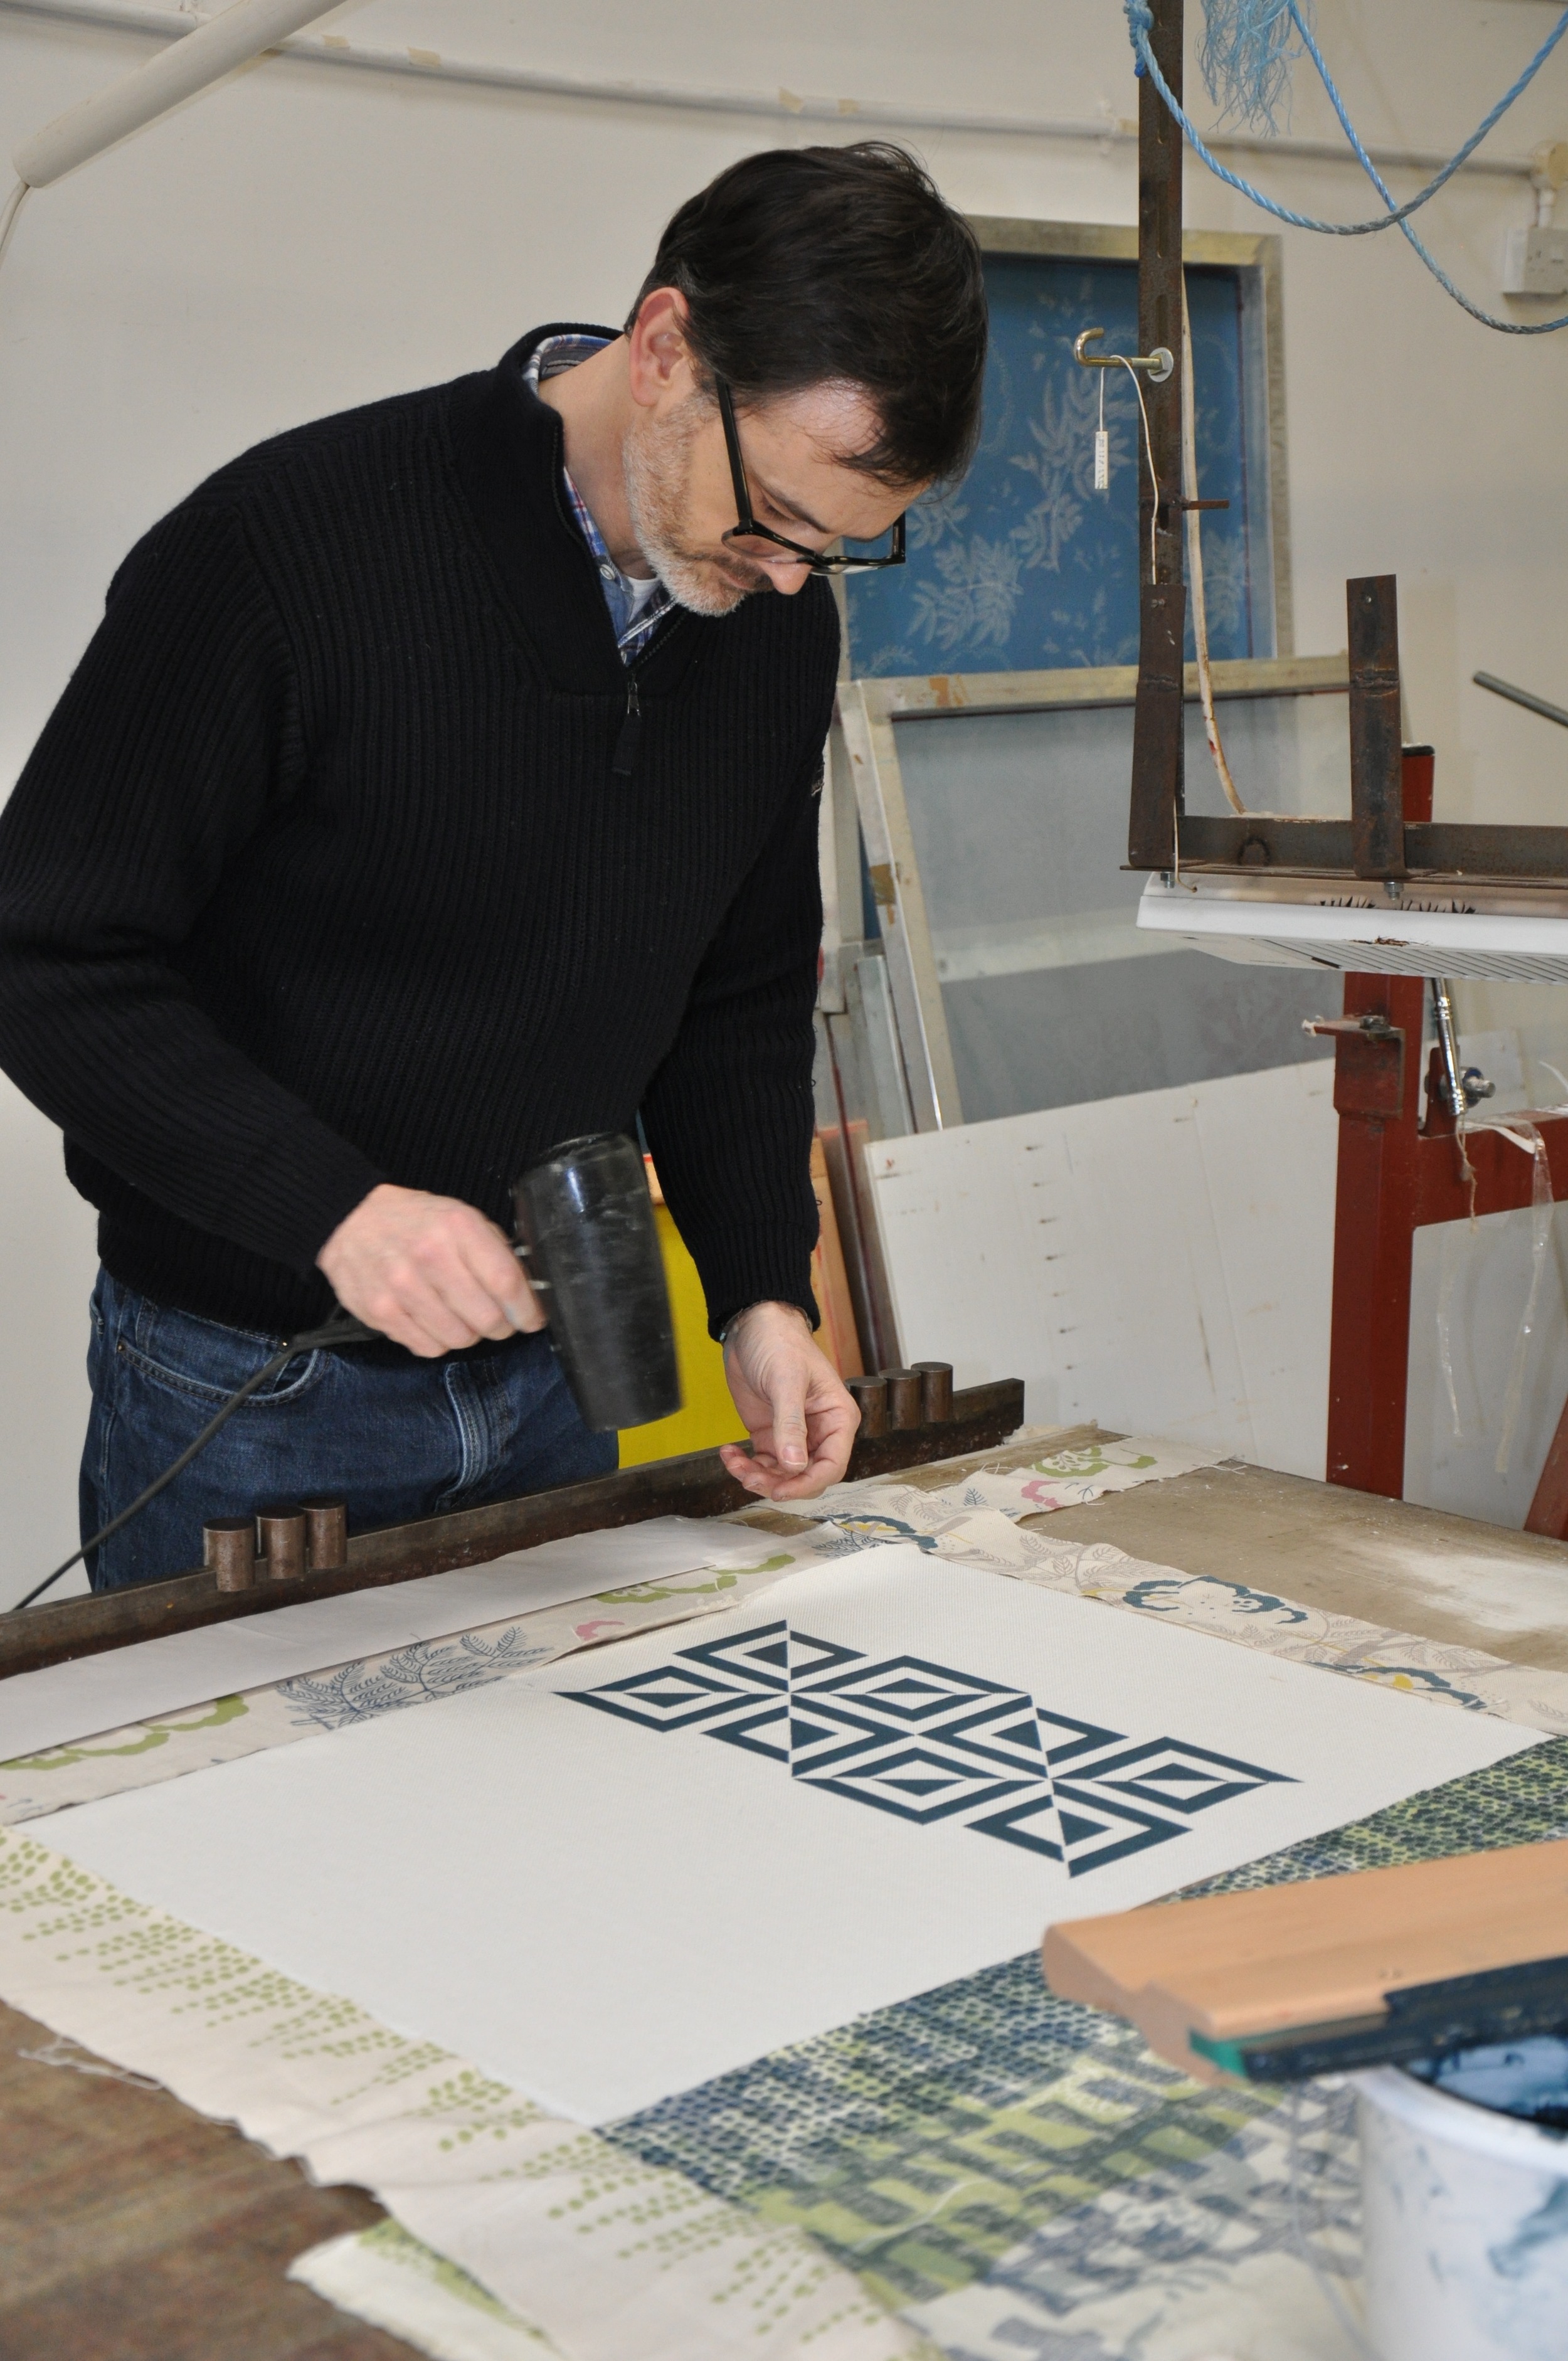
Before we started with our own screen printing Rebecca and Peter gave us a demo, printing their most popular design 'Cordoba' in Madder Pink (see images below). To get to this stage and achieve the final result, let me take you through the process.
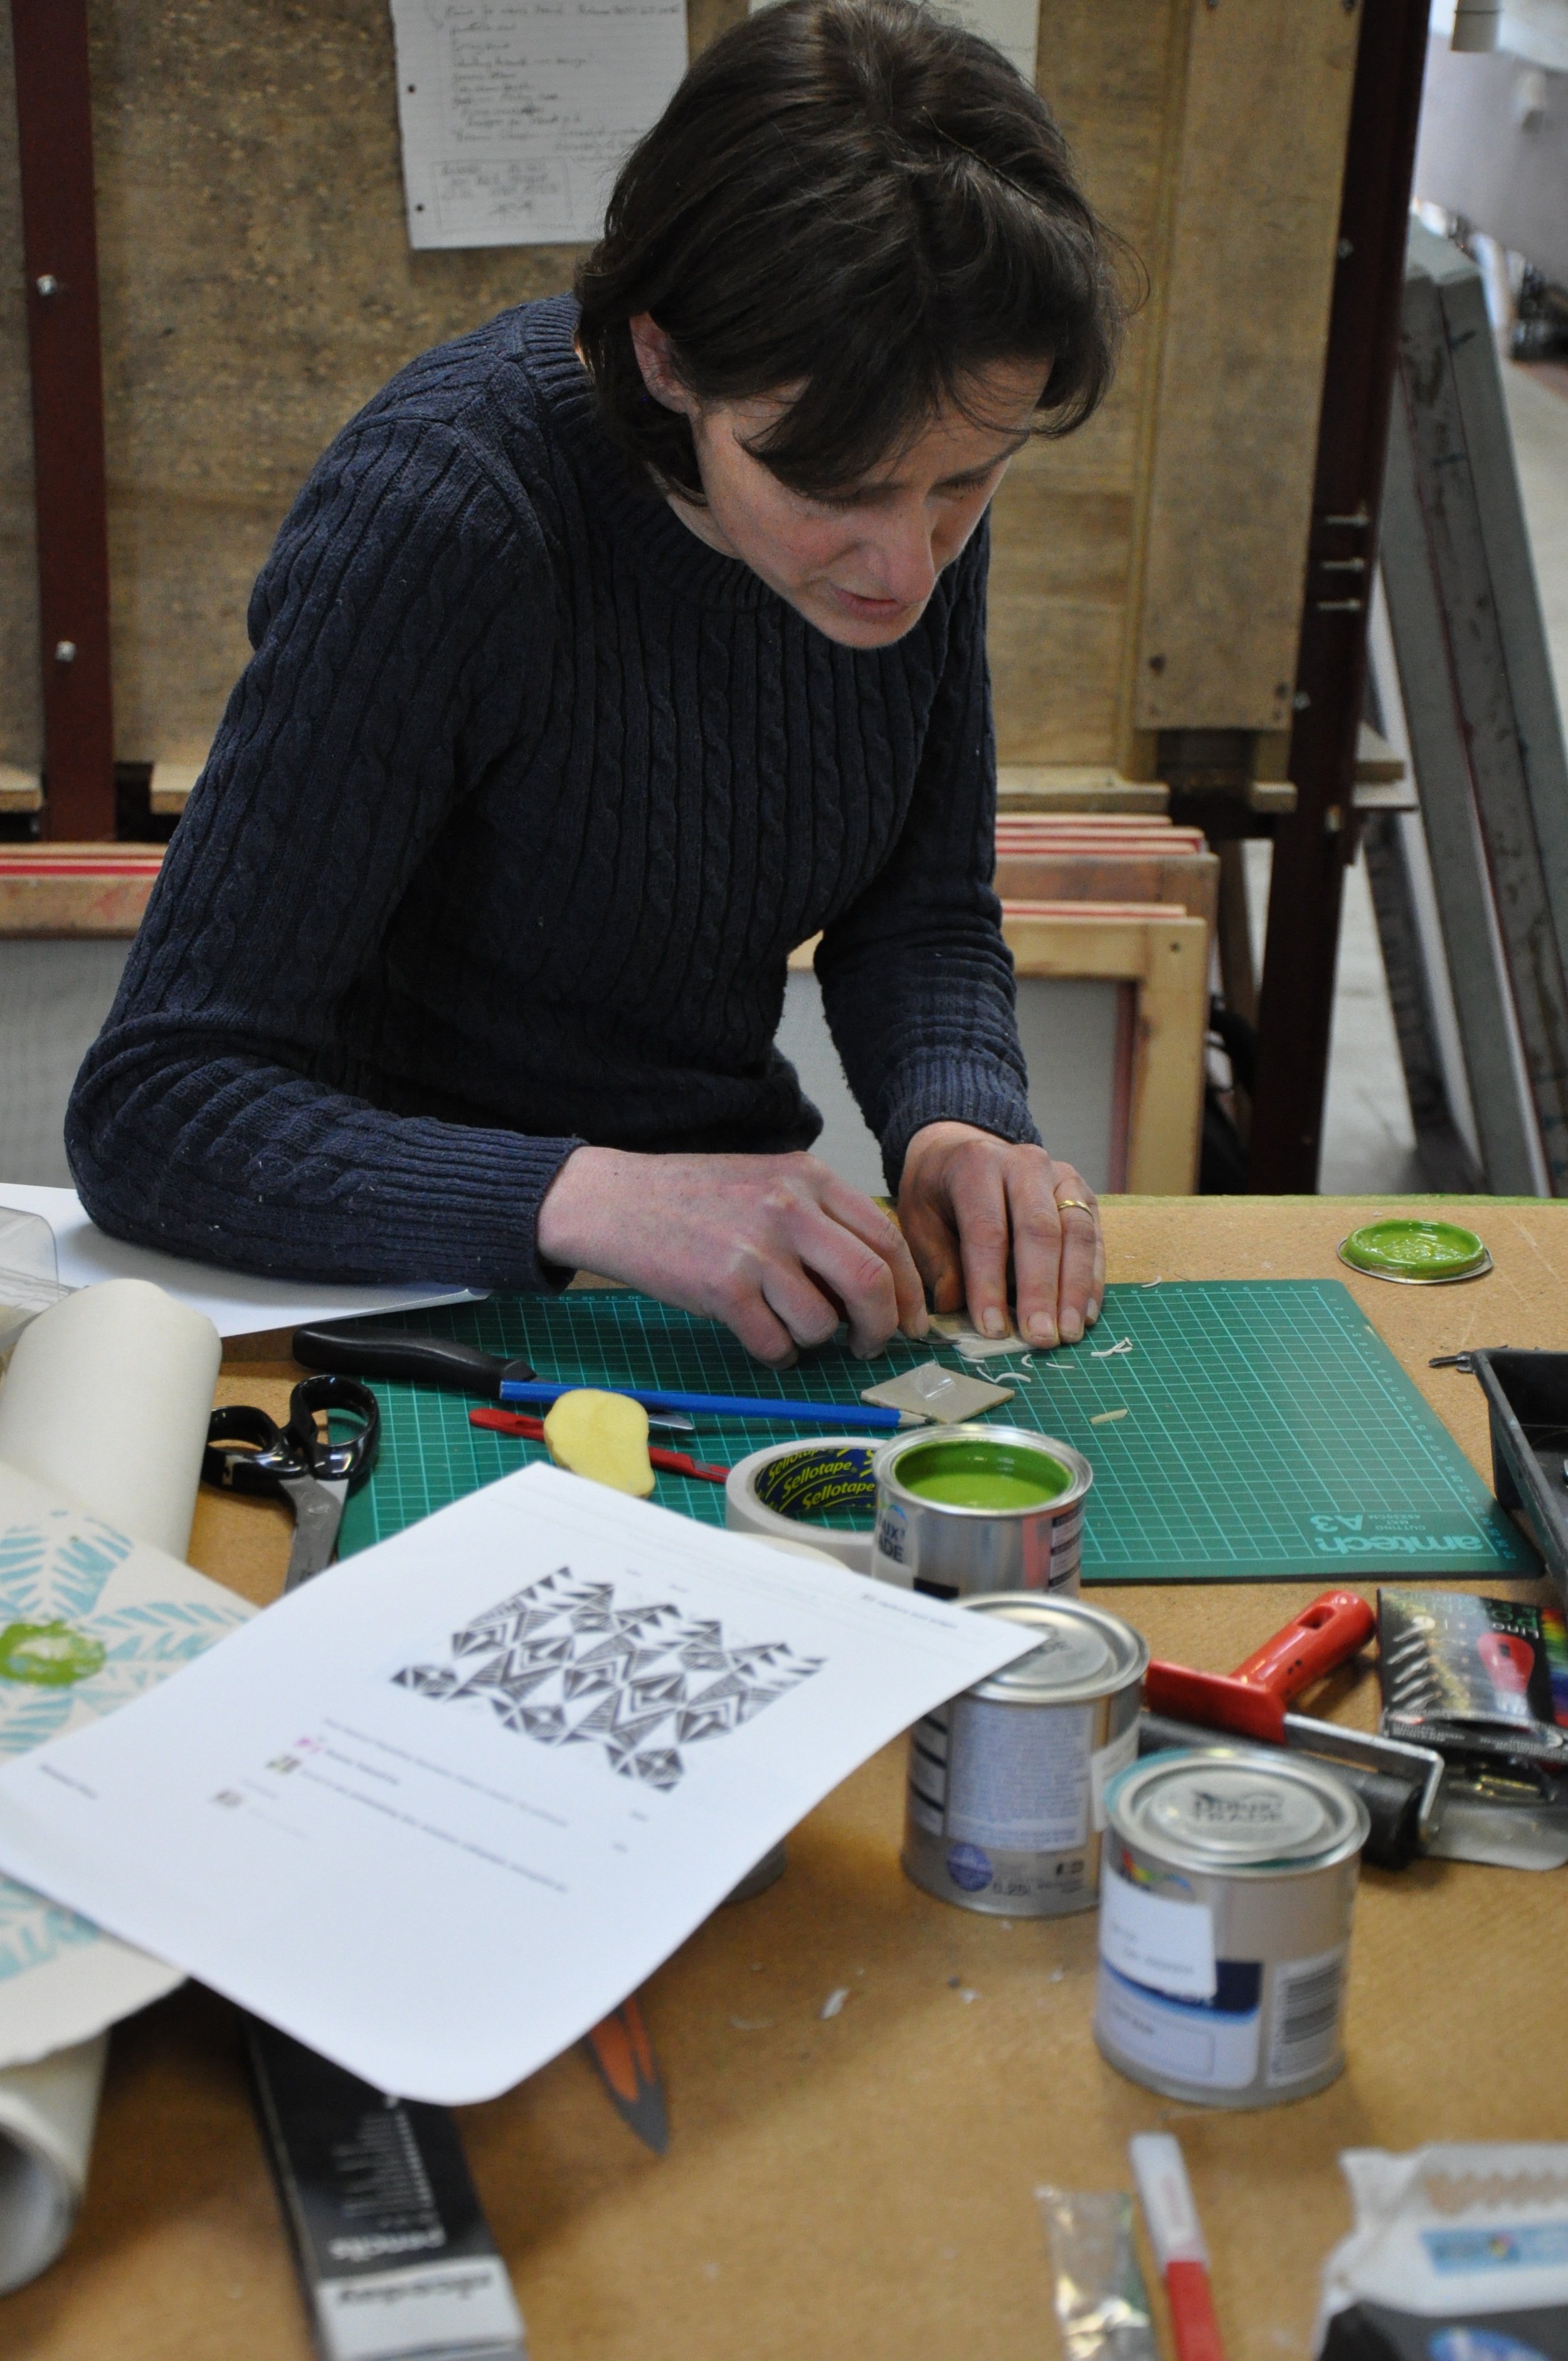
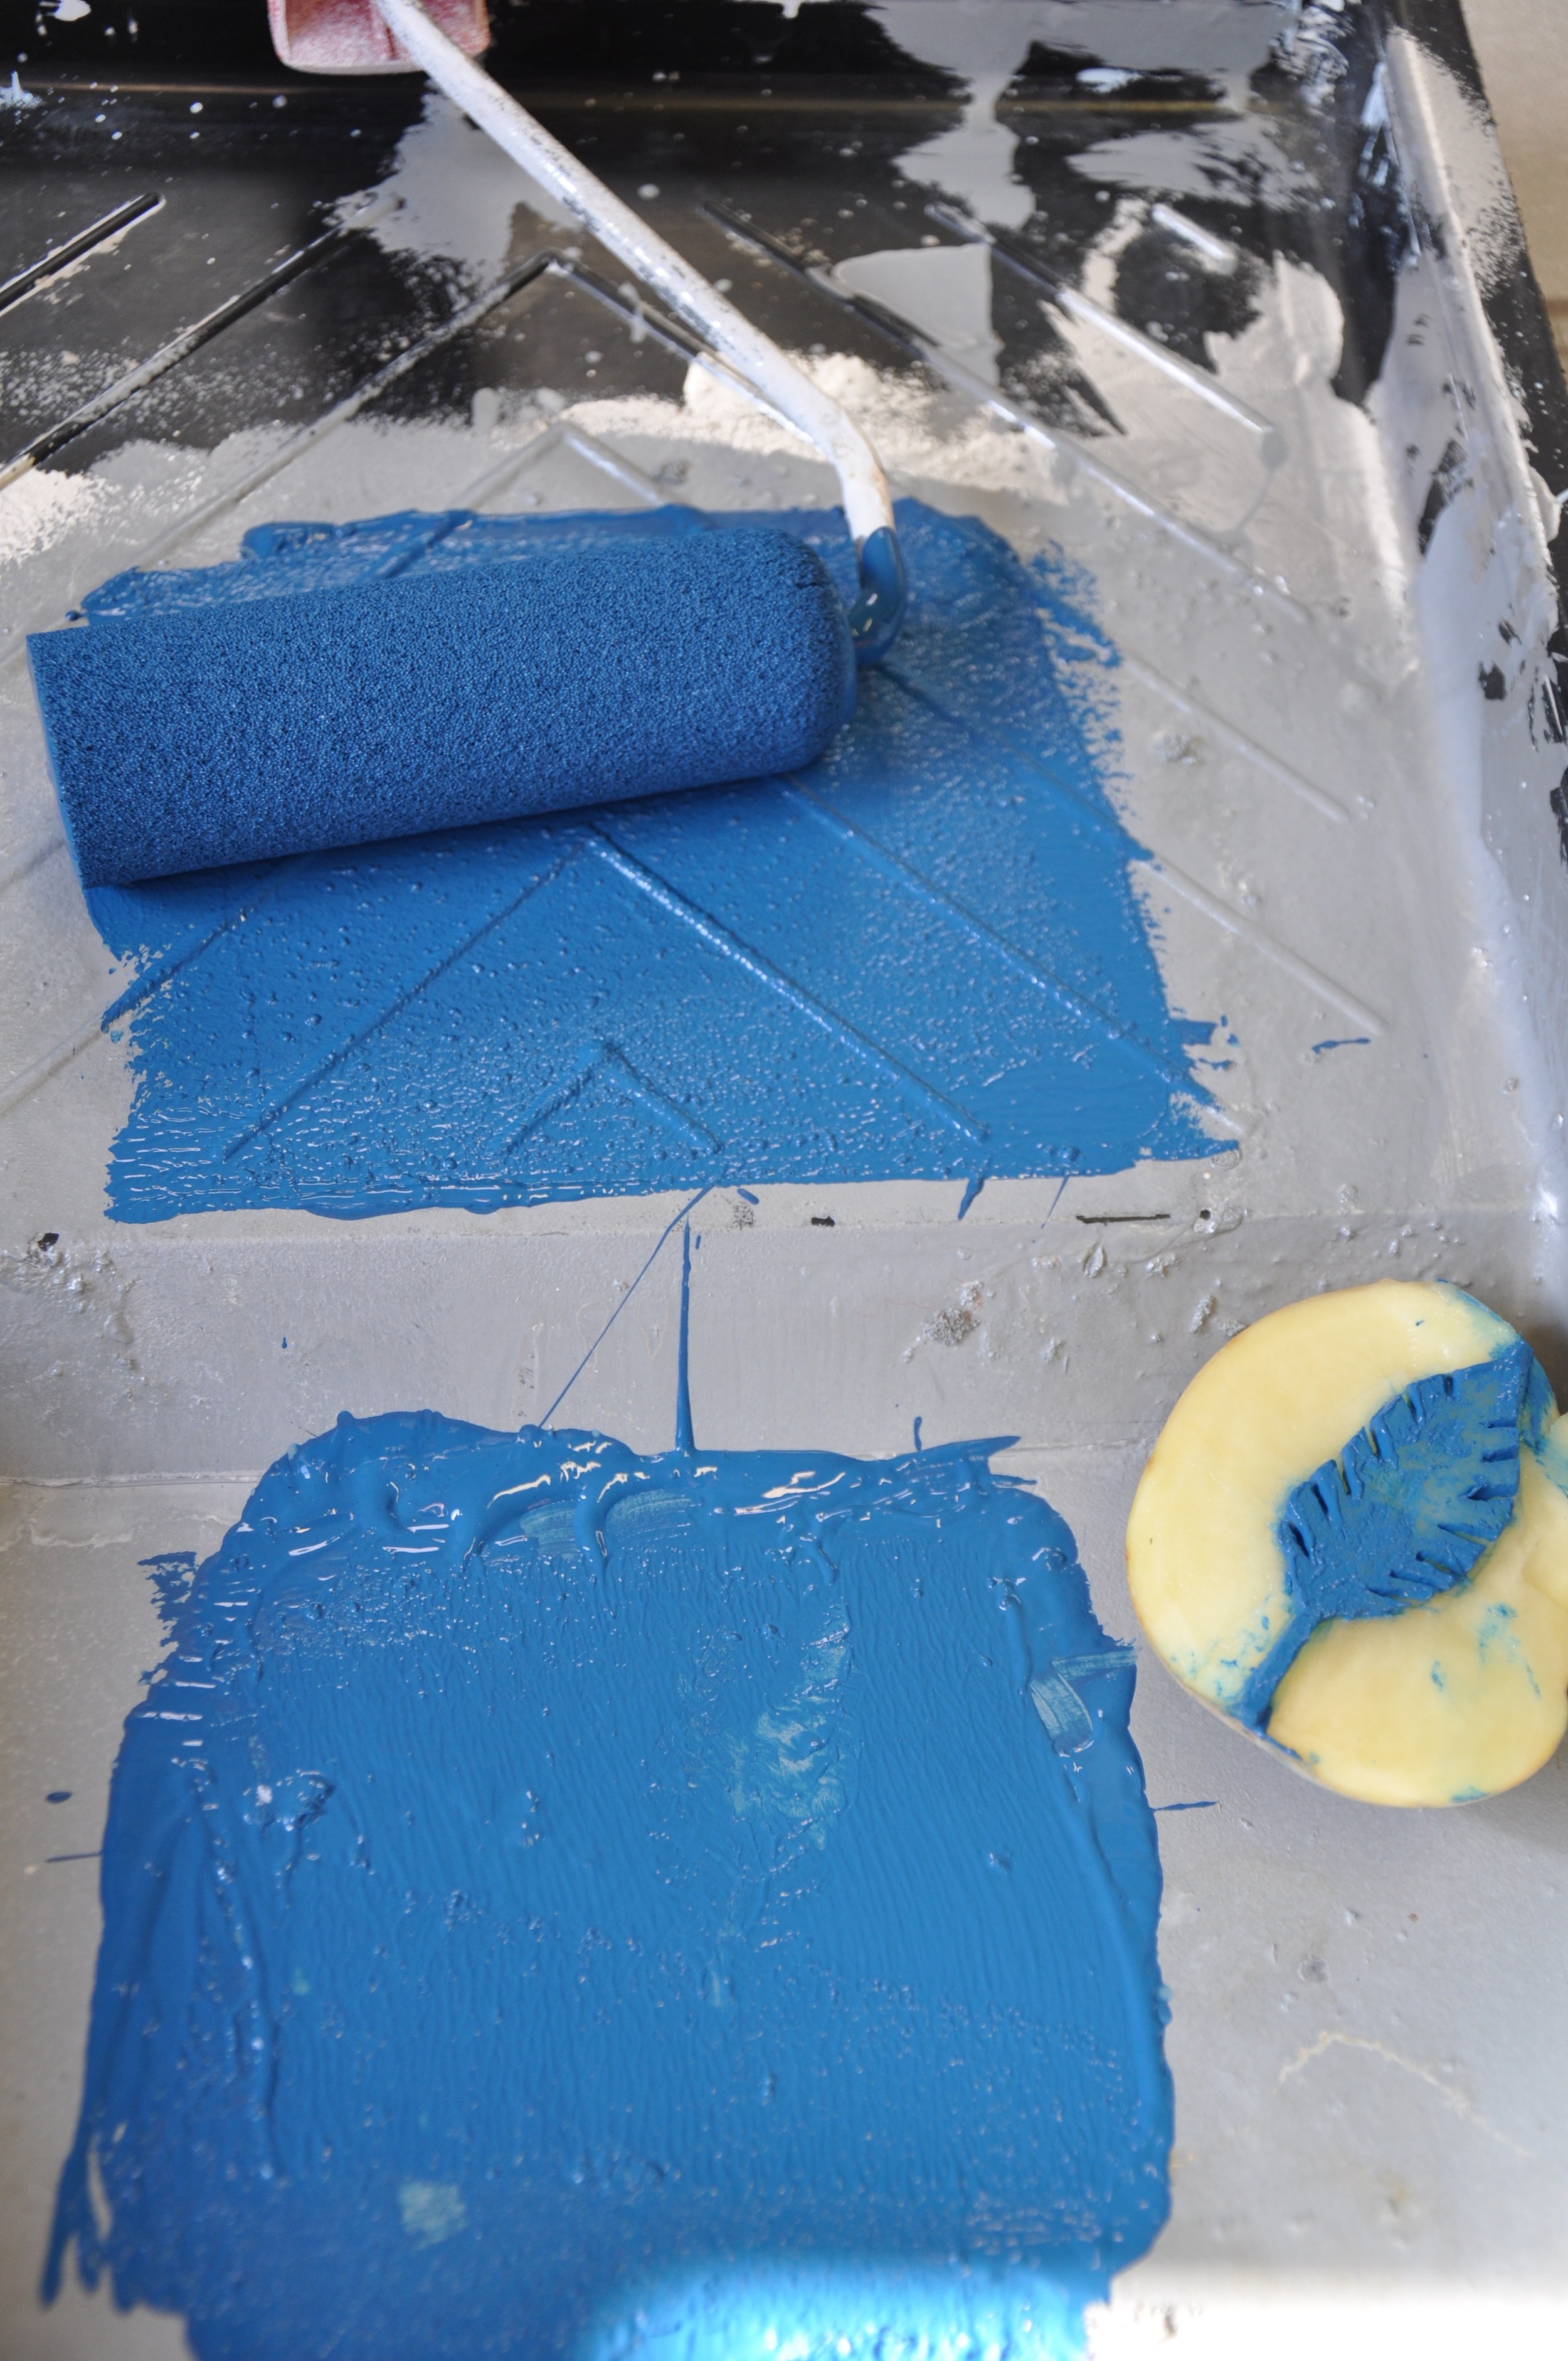
Firstly a design needs to be created, pencil to paper the old fashioned way. The idea then needs to be developed, this could be using a potato to get a quick sense whether an idea will work as its the easiest way to try out pattern repeats. Alternatively, cutting the shape into lino, the texture of the lino will influence the way you cut it and create its own effects on the printed product. Once this has been developed sufficiently the process moves to the computer where Peter will ensure that the pattern repeats are perfectly aligned.
Peter explains how the artwork is then transferred to a screen; "The new screens are coated by us with a thin layer of light sensitive emulsion and dried in a dark cabinet. The art work is a transparent film with the design drawn, painted or printed onto it with opaque ink. We create these either by hand drawing or cutting the design onto transparent film or scanning our designs onto our computer and sending the finished file away to be printed out onto transparent film.
The design is transferred (etched) onto the screens by exposing the coated screens to a strong light source (the light box) with the artwork between light source and coated screen. The screen is then washed and the areas where the opaque ink has been on the artwork remains unexposed and so washes out leaving a negative stencil on the screen ready for printing."
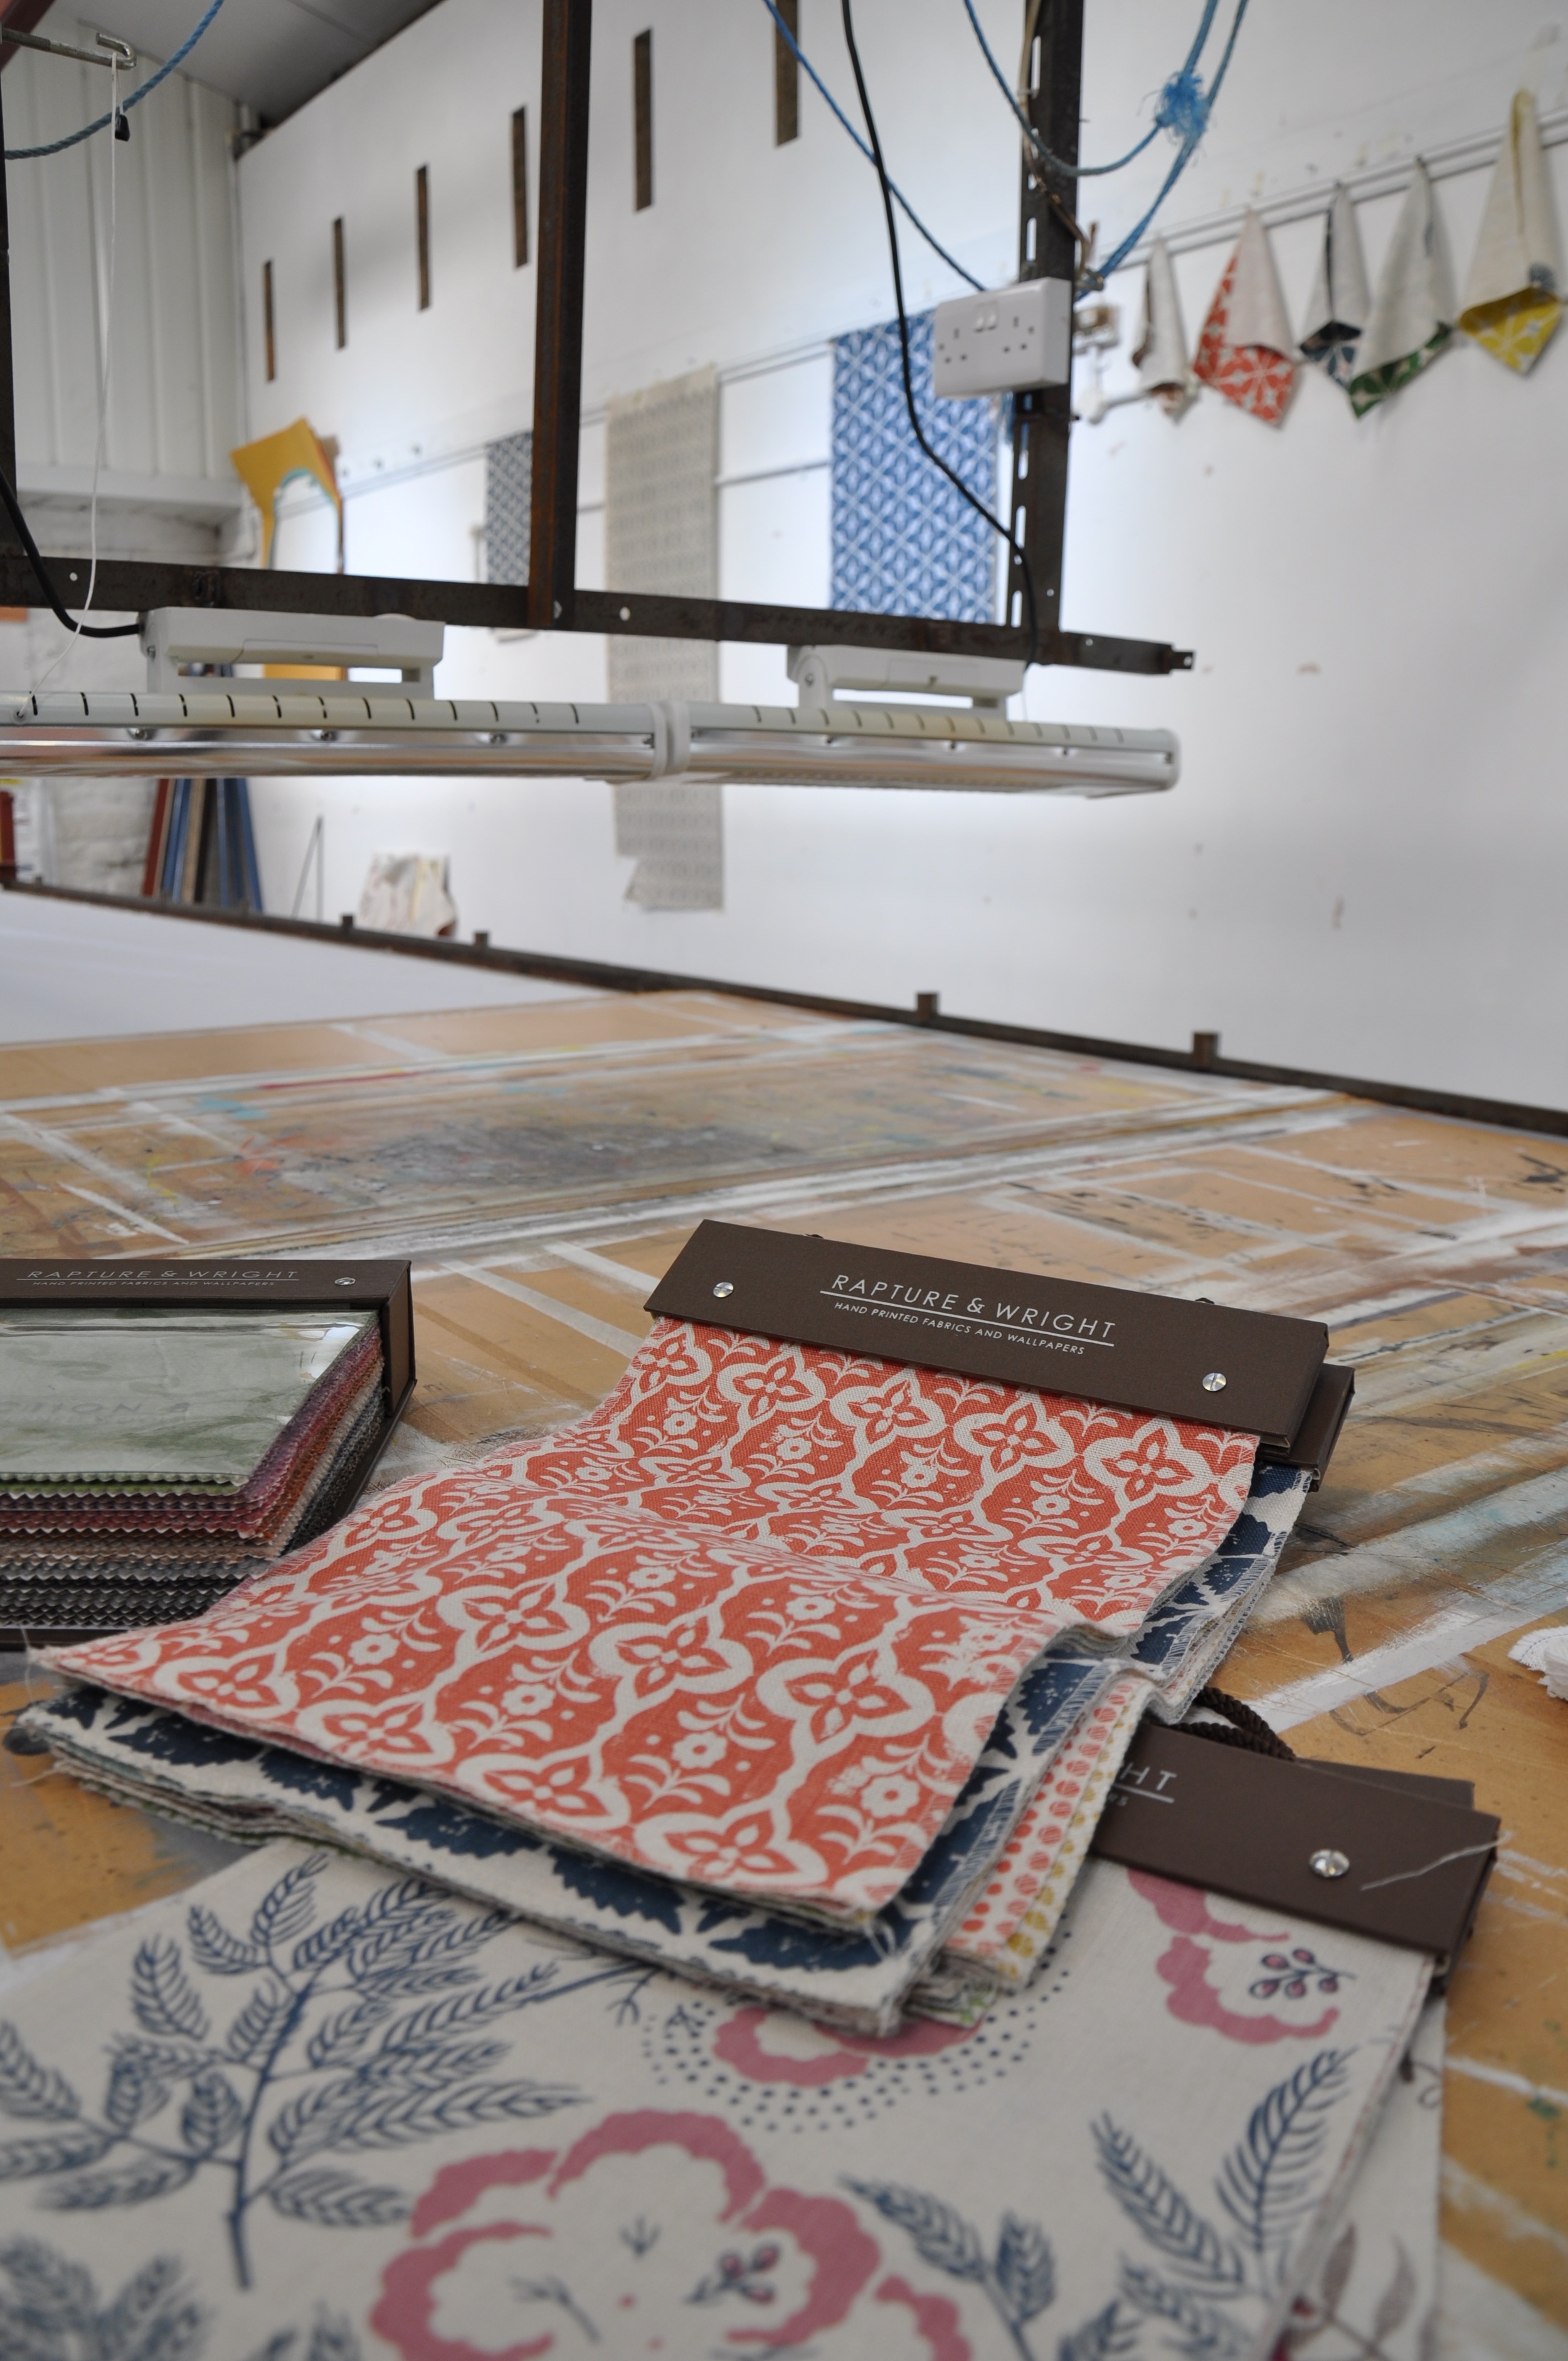
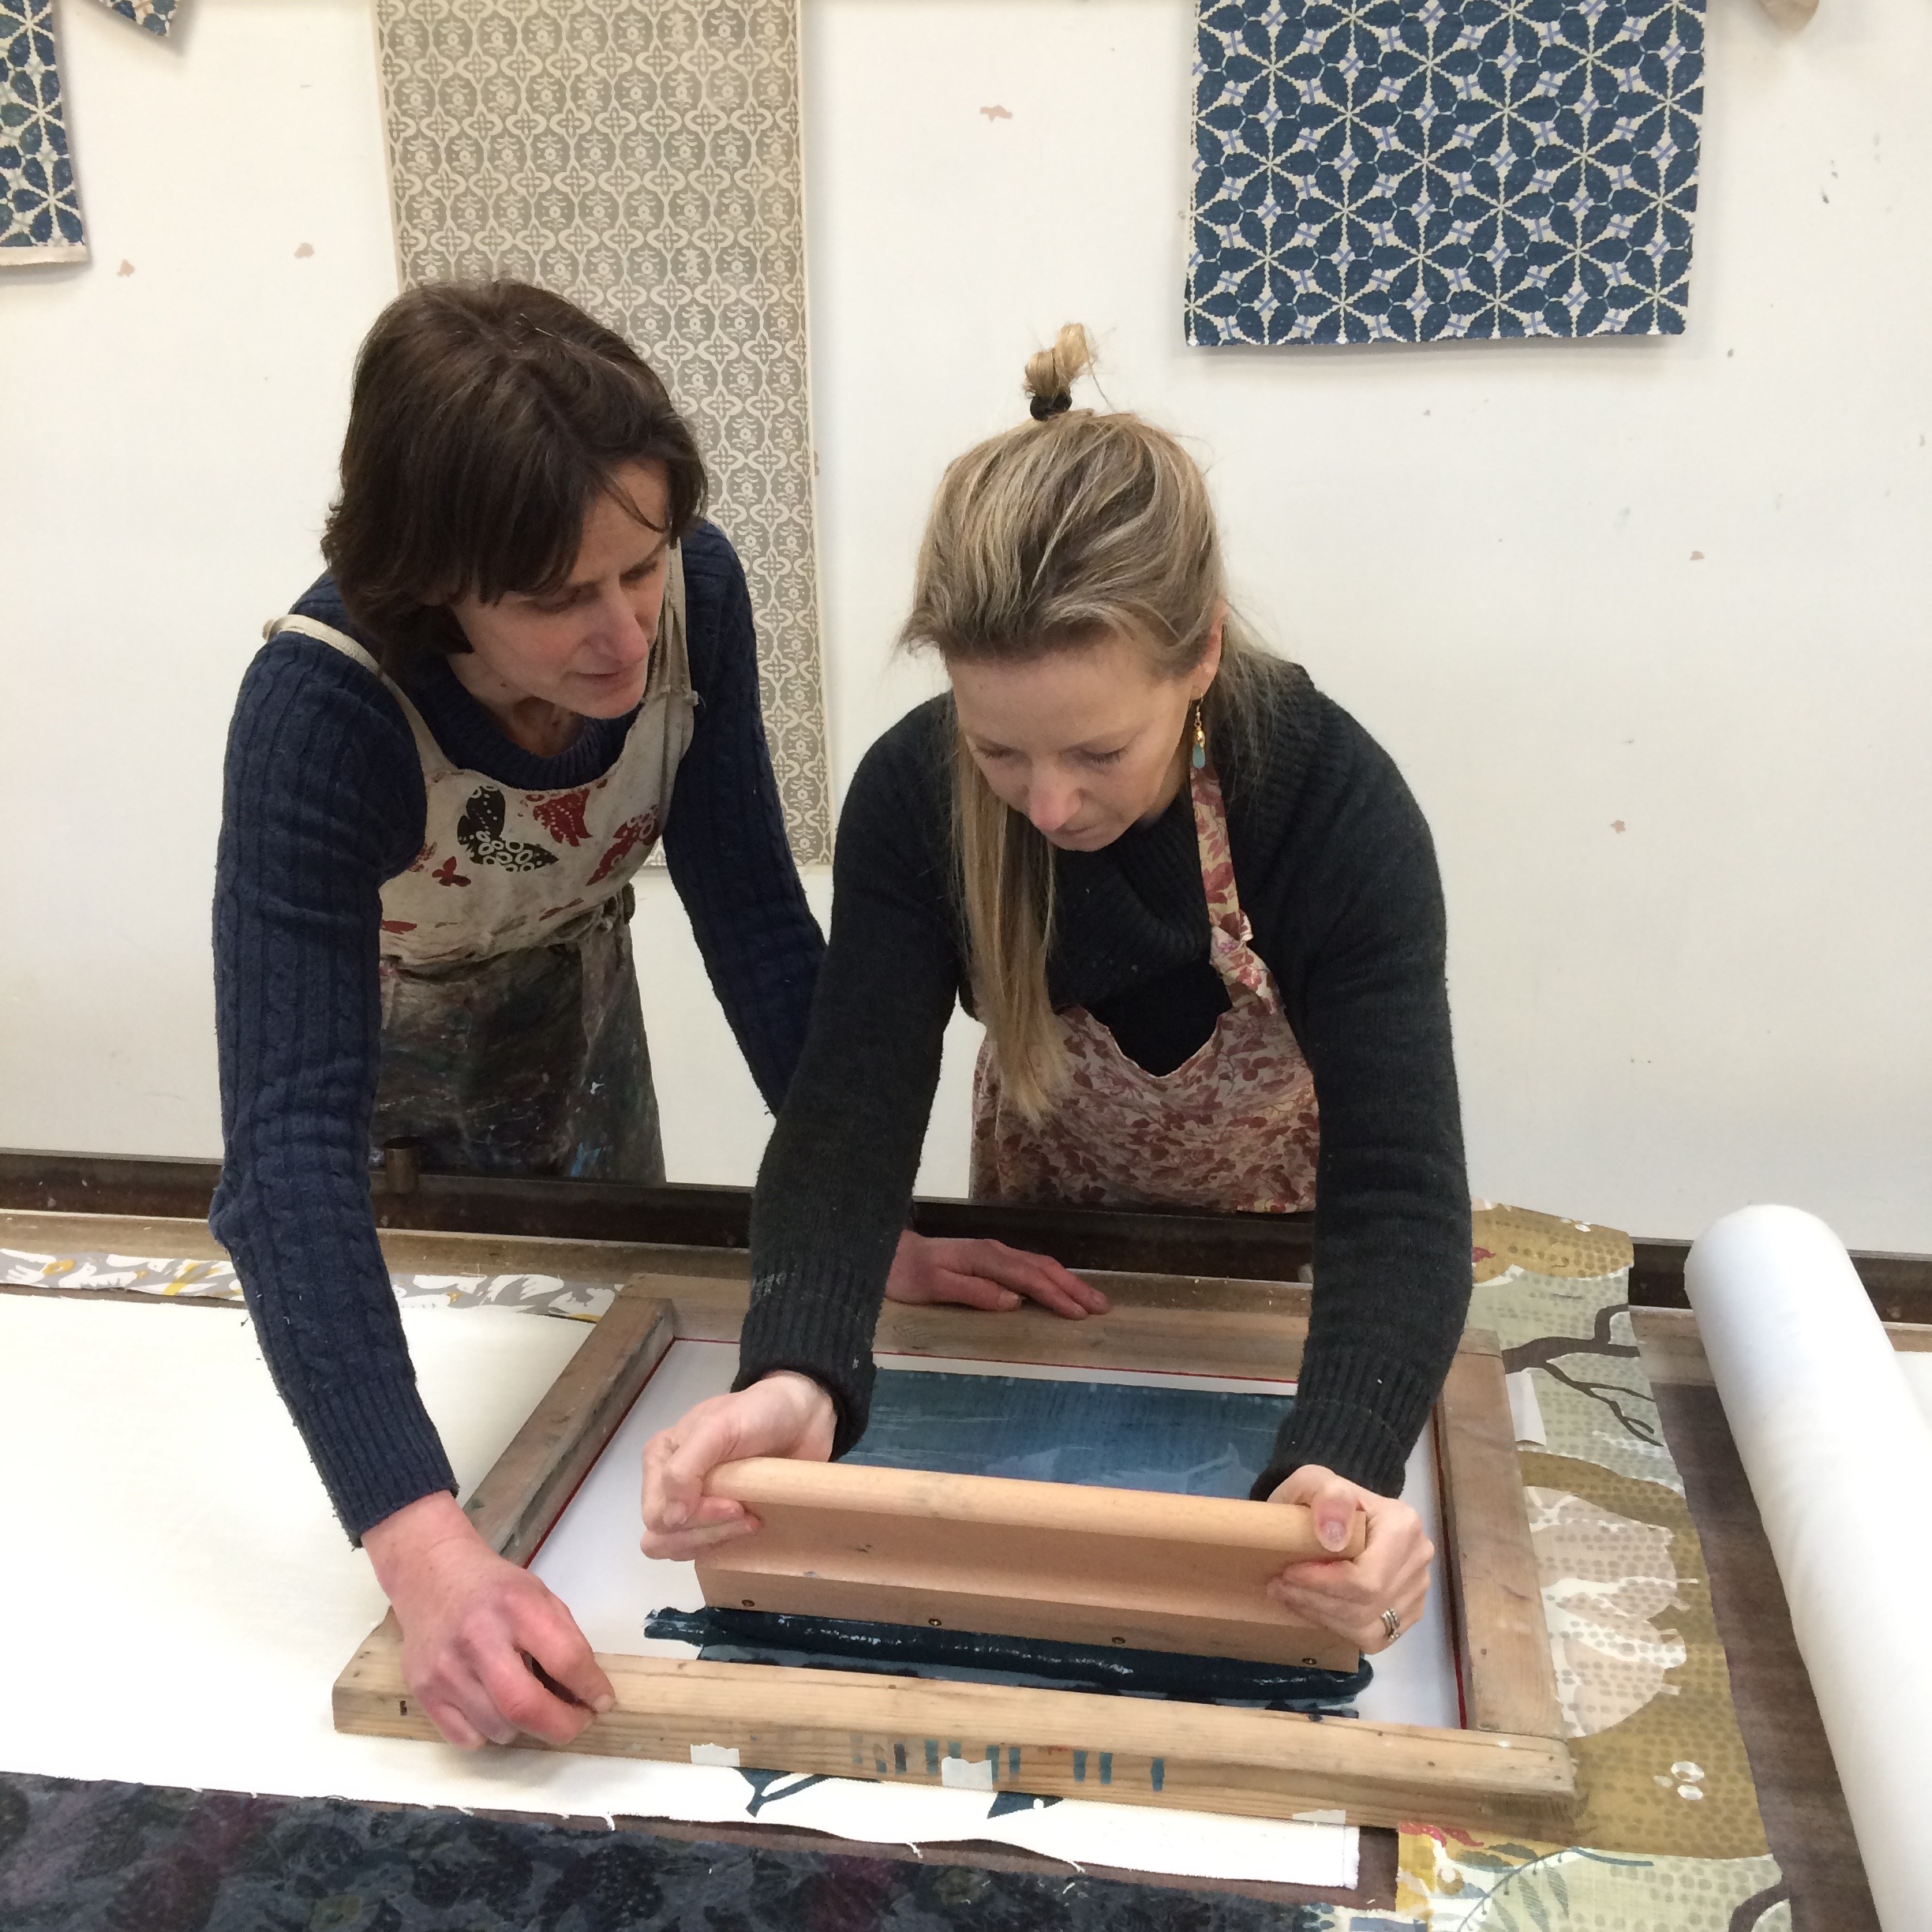
Ready to start the printing process, the linen (which all comes from a Scottish Mill) is pulled along the padded table. It is then ironed on to the table which has a permanent adhesive on to stop the fabric moving during printing. The screen is then laid over the fabric, paint is added and using a squeegee the paint is forced into the mesh as it is passed between Rebecca and Peter. In order to avoid smudging it is printed with alternate repeats allowing the paint to dry as they move down the length of fabric. To speed the process heat lamps sit above the table and occasional on cold days the hairdryers come out to ensure the paint is dry. To ensure the print is fully cured/fixed to the fabric it needs to be either baked or a catalyst is added that accelerates the curing at lower temperatures that we can be achieved in the drying room. It then ready to be rolled and delivered to their clients.
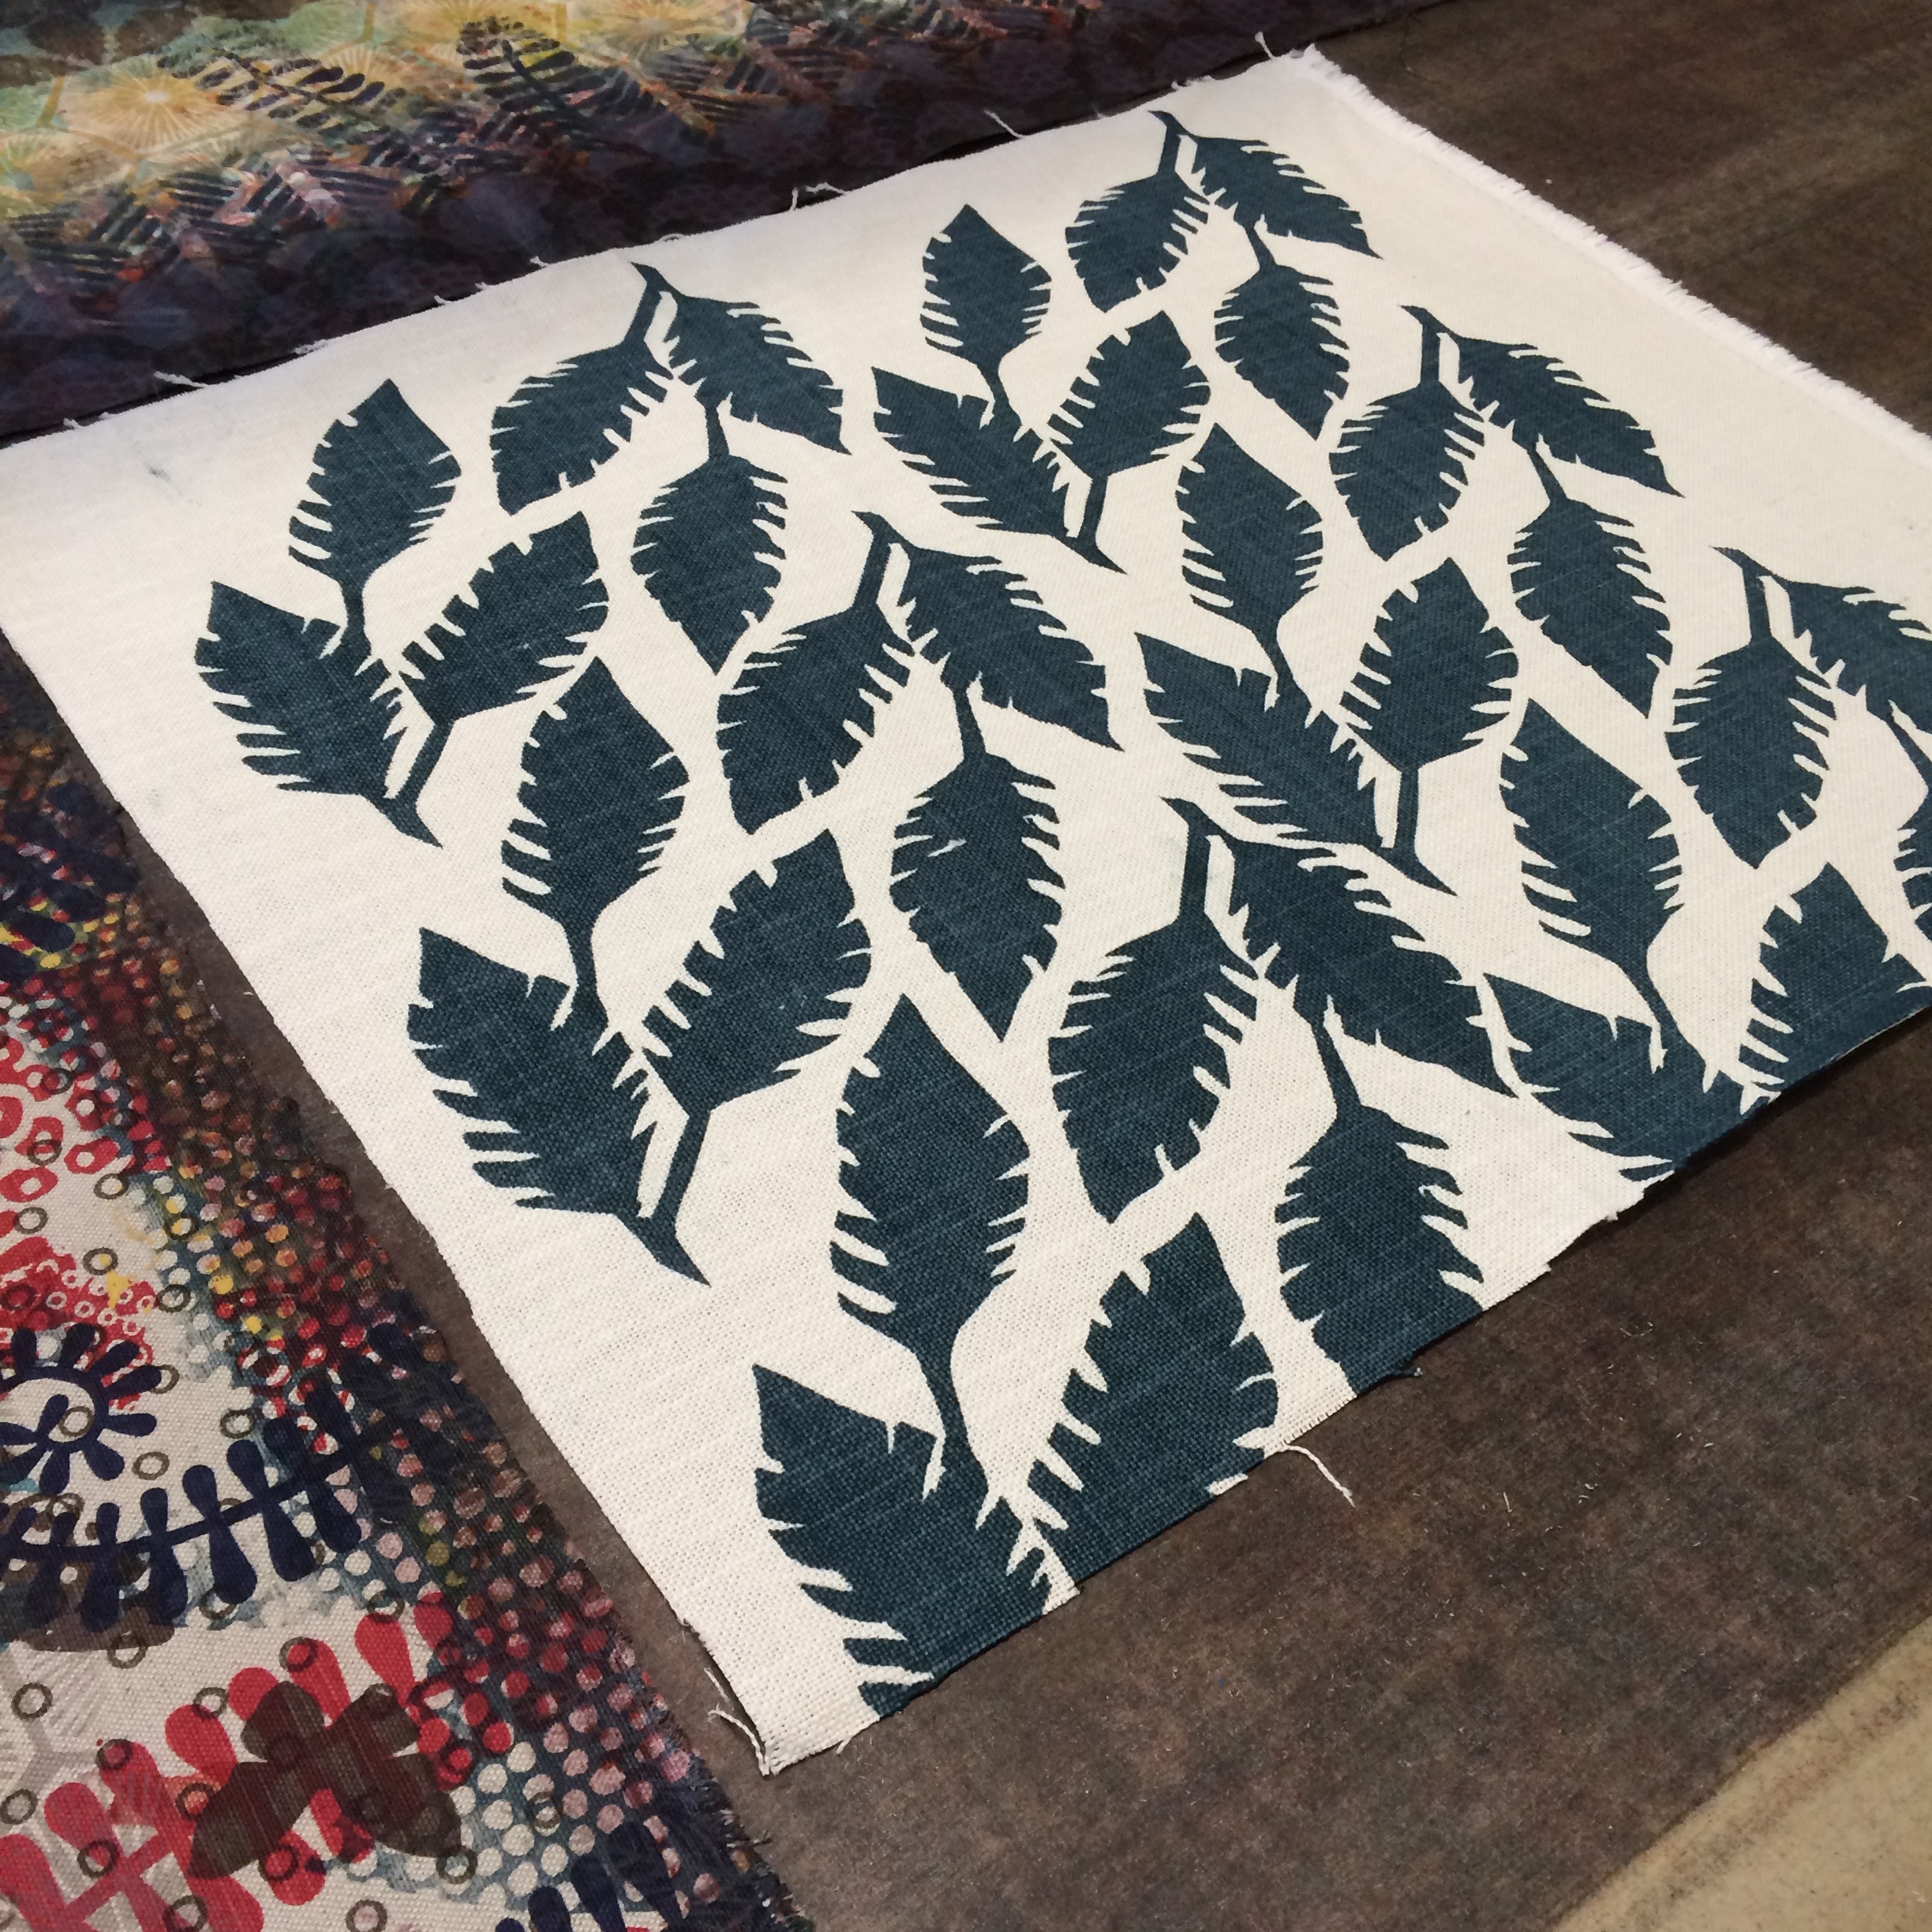
It was now our turn. We spent the morning working on design ideas, below you can see how following demonstrations from Rebecca we were able to experiment. I first cut out my potato, it was supposed to look like a feather but with my clunky cutting I quickly realised that it would have to become a leaf! I then played around with a pattern that could be repeated, on favouring my cluster of three leaves I then traced this pattern and rubbed it onto lino. I then spent a long time cutting and chiselling away the lino to leave the leaves. I could then use my lino as a mini stencil and play around with ideas for pattern repeats on paper. By the end of the morning I seemed to be getting behind, my hand was tired from all of that chiselling and I was in a panic that my leaves that were supposed to be feathers weren't going to work at all when it came to transferring it to fabric. I had such great intentions, sure I could produce a prize winning design on my first try and my dreams were rapidly dwindling. Thank goodness it was time for lunch! An amazing homemade feast of warming soups, pies and healthy salads had been created by our hosts, followed by pudding and teas and coffees, we all lingered making the most of our comfortable surroundings and chatted getting to know the other participants and find out more about the background of Rapture & Wright.
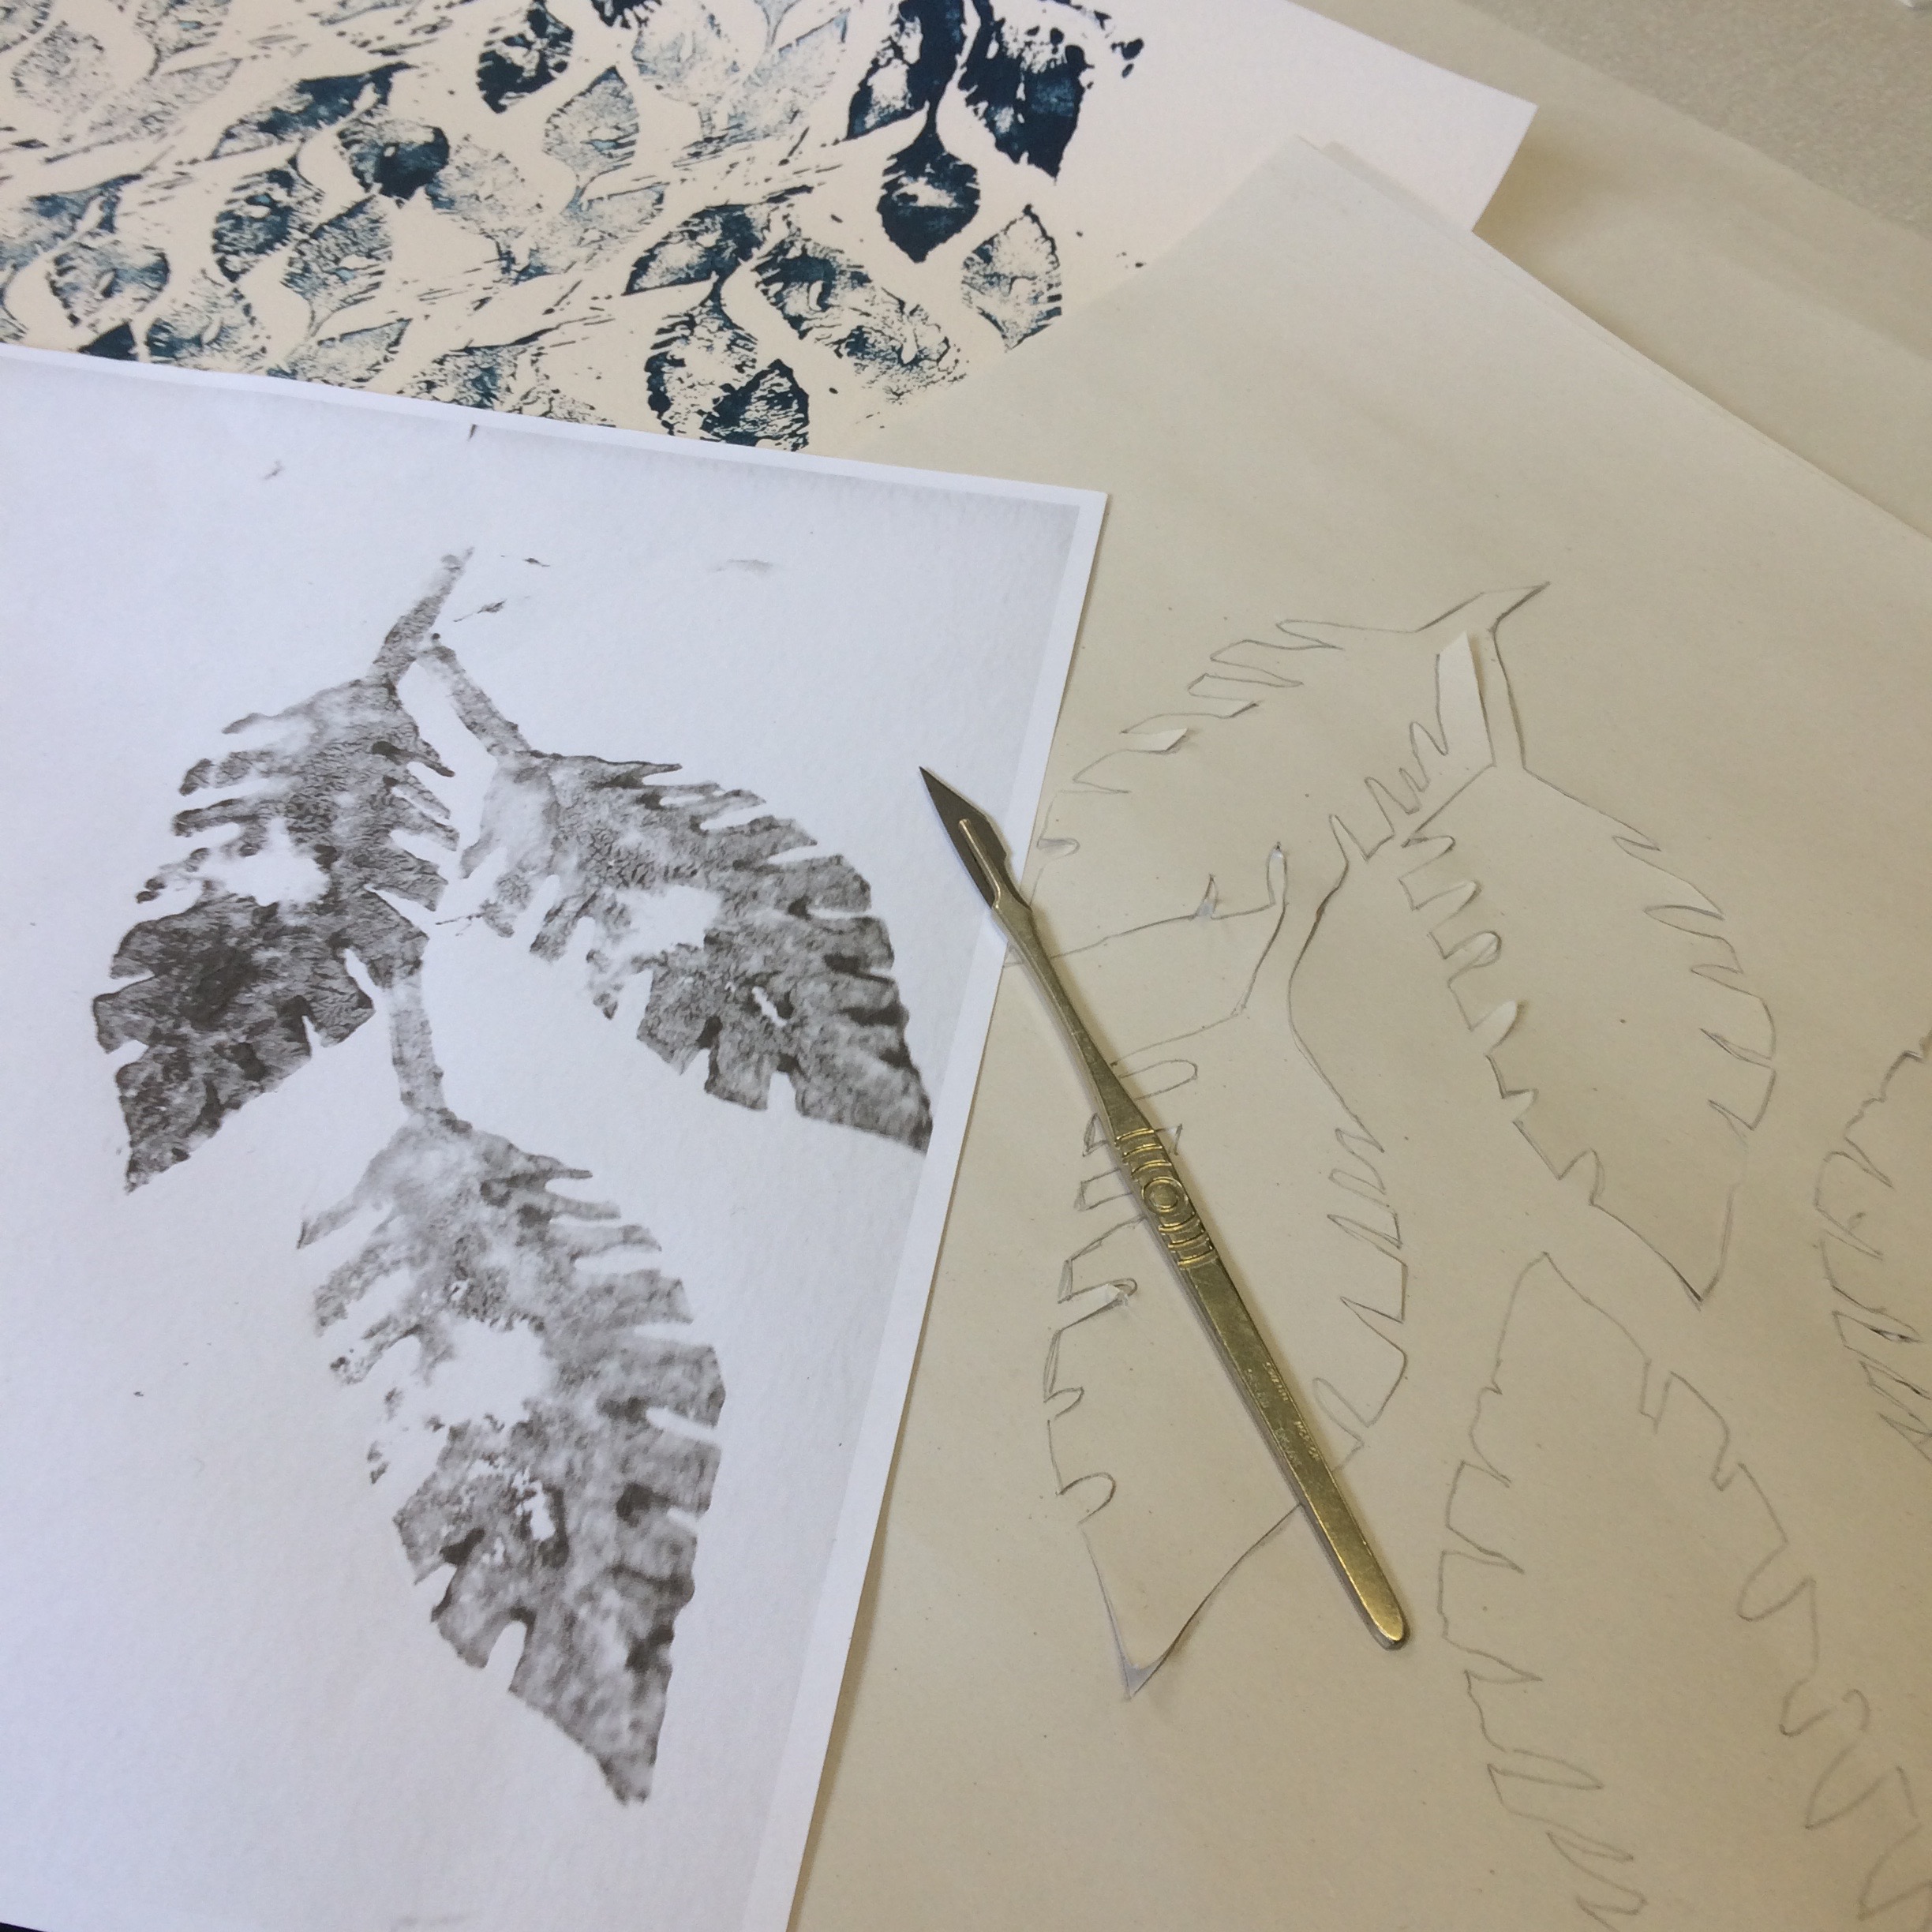
With snow starting to fall we hurried back to the studio joking that we might be snowed in and have to make camp over night! We were now all revived and in jubilant spirits ready to create our masterpieces on fabric. On looking at my design I started to panic again about how I could transfer my design to the screen. We were using a simplistic method of creating a stencil by cutting our design from paper and taping this to the mesh. Luckily Rebecca came to my rescue and suggested blowing my design up on the photocopier and then working with this larger image, so I set to work again tracing and then cutting the design out with a scalpel, taping it to my screen and set to work. Below you can see the various processes and me putting my stencil to the test and finally, voila!!! My final product which I am so chuffed with, what do you think? I made enough so that I can make two big cushions with them, hopefully to go in my T.V. room once we have one! I will update you with a picture of the cushions as soon as I have a chance to make them (don't hold your breathe).
The course that Rapture & Wright held was so much fun, its not a regular thing they do and this was their first one so I was delighted that I could be a part of it and I would highly recommend it to everyone. Its interesting, its fun and you get to meet some great people in the process and best of all you get to go home with some fabulous fabric which you have designed and printed yourself. You couldn't ask for a more wholesome day and I'll definitely be lining up to book myself a place when they announce their next set of course dates.
Above you can see some of the other brilliant designs created by the others attending the workshop. They all looked amazing!
To learn more about Rapture & Wright visit their website www.raptureandwright.co.uk
This is not a sponsored post
Photos are all my own; Anna Wilson


